
 Portal
Building the Box
5 posters
Page 1 of 1

Building the Box
![]() Ryan McKee 4/17/2013, 9:36 pm
Ryan McKee 4/17/2013, 9:36 pm
So I've been thinking out loud for years (just ask my girlfriend) about removing the rear seats and building a storage trunk for the Jeep. No more keeping my socket sets under the seats and my wrenches behind the bench alongside my crappy speakers and old blankets. The Jeep deserved more. I deserved more.
Here I will chronicle the building of a versatile trunk. It will accomplish a few things:
1) have space for tools, fluids, recovery equipment, and other things
2) have a self contained speaker system
3) incorporate electronics/amplifiers
4) seal up, lock, be water resistant
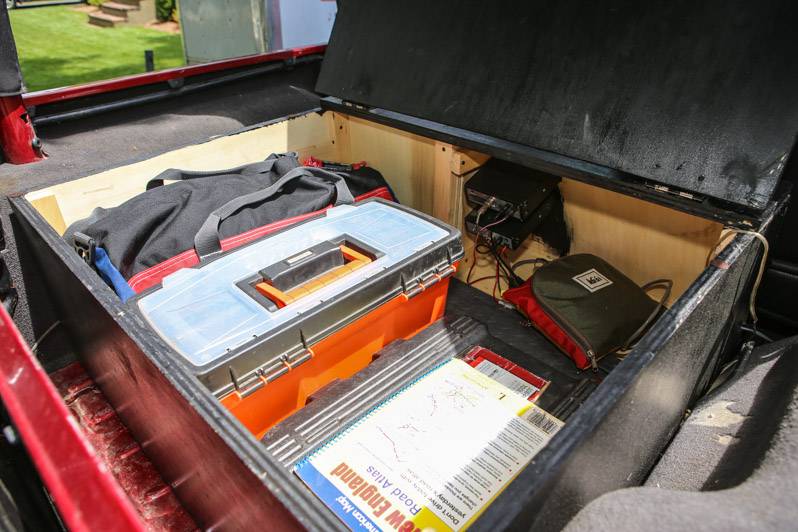
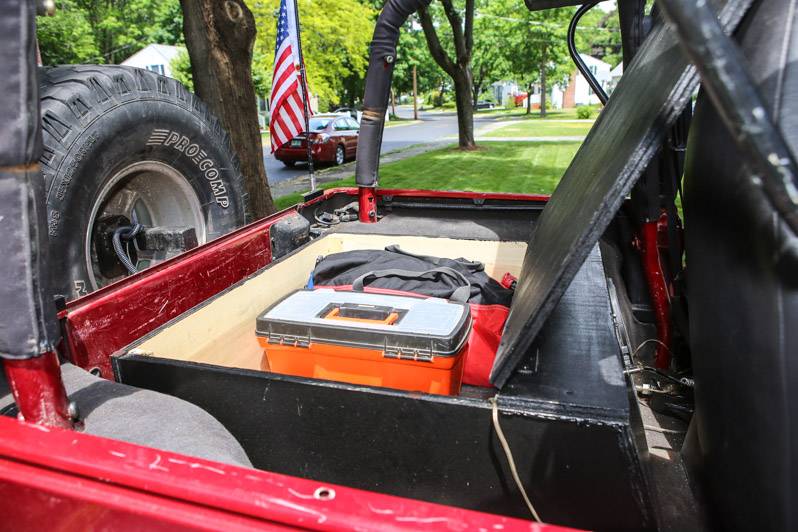
The box will only occupy the amount of space that the rear area accommodates, and will have a hinged top to allow access to the entire box at once. I debated drawers, multiple compartments, but the easiest way for this to be versatile is for it to be all accessible with one fell swoop. This will be done via 2 hydraulic pistons on each side to hoist the top up once the lock and latch are undone.
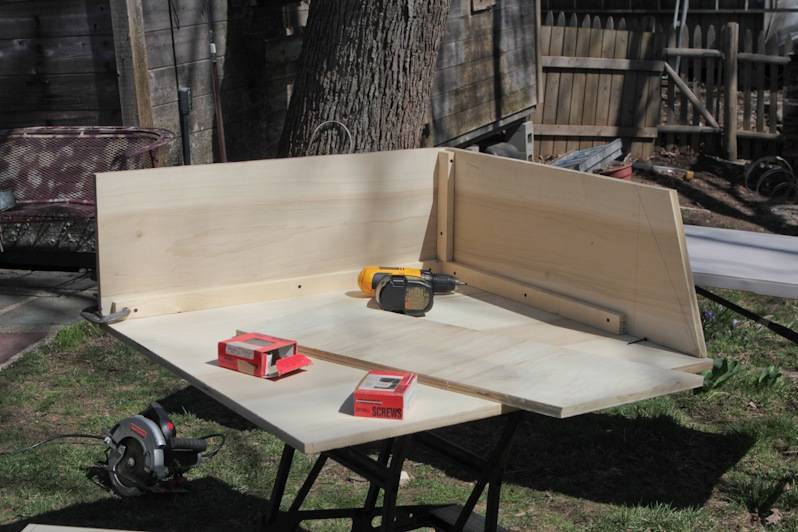
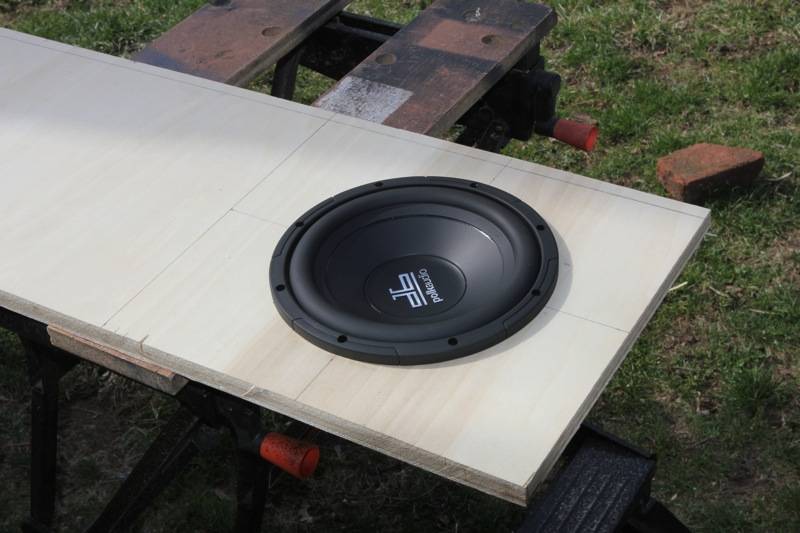
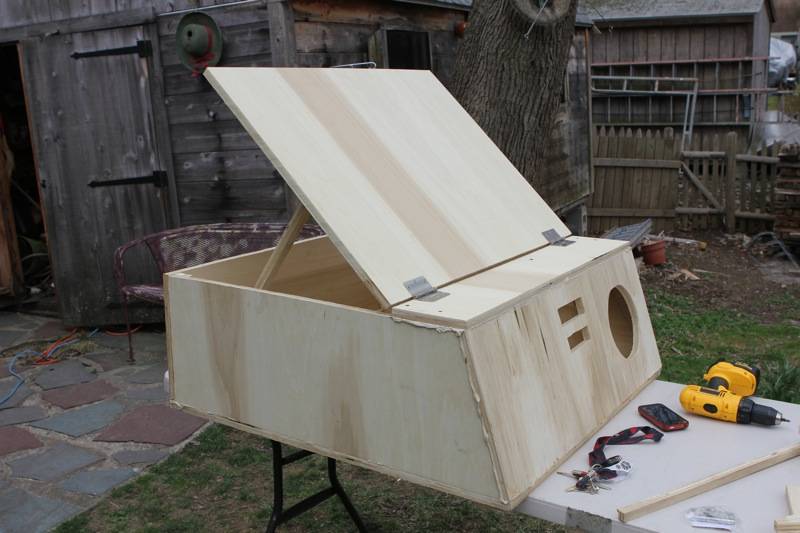
I don't have any diagrams of what I'll be doing, but envision a large area (technically 35"x34.5") that is largely open. It will be broken technically into 3 sections, one being the storage area, 2 being the subwoofer enclosure (sealed, not ported) and 3 being the amplifier storage. The hinged lid will only cover area 1. The other 2 will be boxed in.
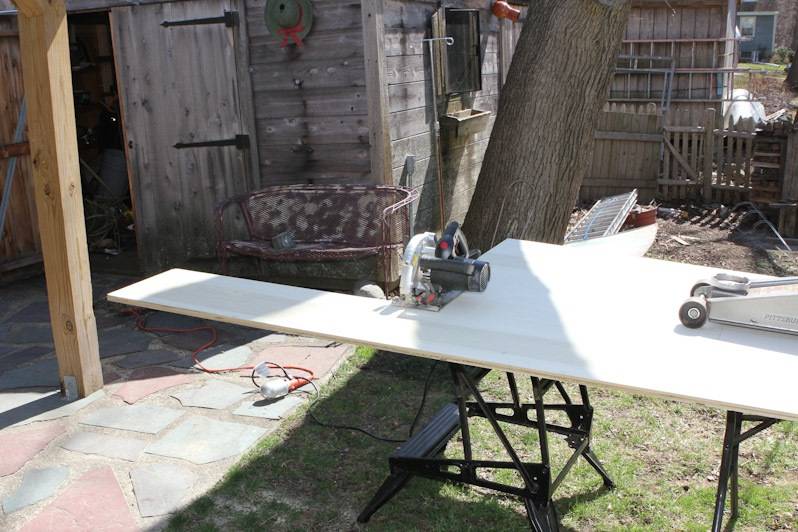
So I went to Home Depot and picked up two 4'x8' sheets of Poplar plywood. It is gorgeous wood, and should be perfect for the application. I also grabbed some 1"x1.5" strapping to brace the insides once assembled.
So here's what I got done on day 1 with some interruptions.
Measurements:
35" long (tailgate to seats)
34.5" wide (between wheel wells)
12.75" tall (floor to top of wheel wells)
Note: the front area that goes against the seats is cut at an angle to allow the seats to slide all the way back on their rails and still recline to a comfortable position.

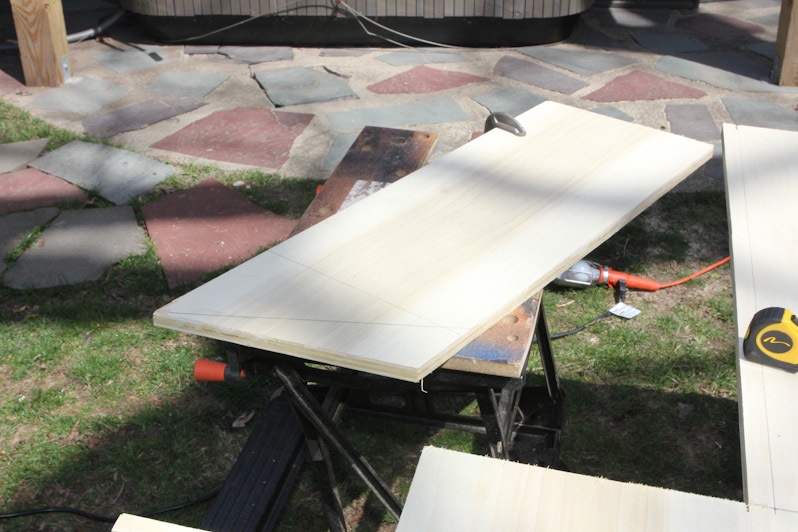
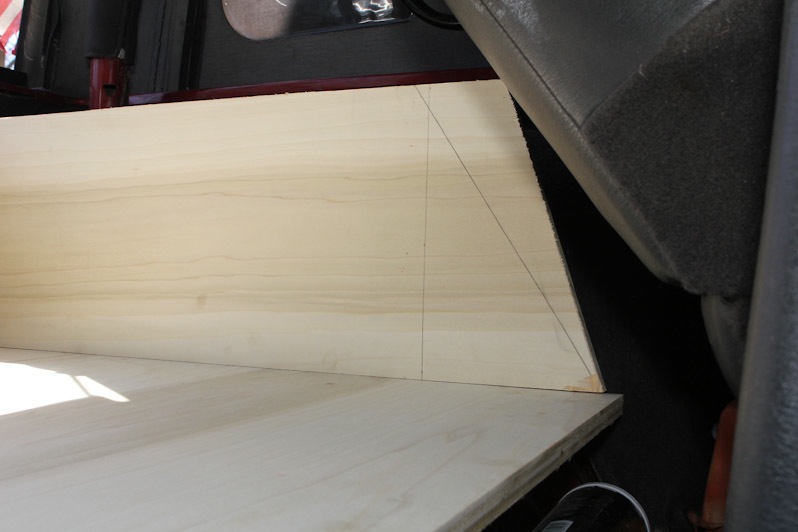

Fitted... not assembled...
Here I will chronicle the building of a versatile trunk. It will accomplish a few things:
1) have space for tools, fluids, recovery equipment, and other things
2) have a self contained speaker system
3) incorporate electronics/amplifiers
4) seal up, lock, be water resistant
The box will only occupy the amount of space that the rear area accommodates, and will have a hinged top to allow access to the entire box at once. I debated drawers, multiple compartments, but the easiest way for this to be versatile is for it to be all accessible with one fell swoop. This will be done via 2 hydraulic pistons on each side to hoist the top up once the lock and latch are undone.
I don't have any diagrams of what I'll be doing, but envision a large area (technically 35"x34.5") that is largely open. It will be broken technically into 3 sections, one being the storage area, 2 being the subwoofer enclosure (sealed, not ported) and 3 being the amplifier storage. The hinged lid will only cover area 1. The other 2 will be boxed in.
So I went to Home Depot and picked up two 4'x8' sheets of Poplar plywood. It is gorgeous wood, and should be perfect for the application. I also grabbed some 1"x1.5" strapping to brace the insides once assembled.
So here's what I got done on day 1 with some interruptions.
Measurements:
35" long (tailgate to seats)
34.5" wide (between wheel wells)
12.75" tall (floor to top of wheel wells)
Note: the front area that goes against the seats is cut at an angle to allow the seats to slide all the way back on their rails and still recline to a comfortable position.
Fitted... not assembled...

Ryan McKee- Admin
- Posts : 1242
Join date : 2011-12-09
Location : Reading, MA -

Re: Building the Box
![]() Mark 4/18/2013, 5:50 am
Mark 4/18/2013, 5:50 am
Looking good Ryan,
Maybe you can bolt it down by removing the rear seat brackets and using the 4 rear seat bracket bolt holes and the 1 center bolt hole for center seat belts
Maybe you can bolt it down by removing the rear seat brackets and using the 4 rear seat bracket bolt holes and the 1 center bolt hole for center seat belts

Mark- Rubicon Trail
- Posts : 1300
Join date : 2011-12-10
Location : Haverhill, MA
Re: Building the Box
![]() Ryan McKee 4/18/2013, 5:55 am
Ryan McKee 4/18/2013, 5:55 am
Mark wrote:Looking good Ryan,
Maybe you can bolt it down by removing the rear seat brackets and using the 4 rear seat bracket bolt holes and the 1 center bolt hole for center seat belts
Along the same lines, my plan is to have a bolt sticking out from each side into the fold/tumble bracket hole, then a nut wrenched down on the outside, and one into the seatbelt hole on the floor.
Great minds think alike
Ryan McKee- Admin
- Posts : 1242
Join date : 2011-12-09
Location : Reading, MA -
Re: Building the Box
![]() Mark 4/18/2013, 6:15 am
Mark 4/18/2013, 6:15 am
Ryan M wrote:
Along the same lines, my plan is to have a bolt sticking out from each side into the fold/tumble bracket hole, then a nut wrenched down on the outside
My bestop trunk holds in by a bolt through the seat bracket on each side making it easier to remove..( same as you are doing)
It had a pin and clip but I changed it to a bolt with a nylock nut.
You can cut 3 pieces of tubing the thickness of the ply wood and insert in the 3 holes so you do not crush the wood when you tighten the bolts.
You could use a piano hinge and make 2 lids, one open to front and one open to rear so you can get in from either end of jeep.
I have some miscellaneous pieces of metal etc, if you need a piece or some ideas you are welcome to look around .
I also have a crap load of 1x1", 1x2", 2x2" and 1-1/2 x 2 "etc,,, assorted sized high density plastic strips most are 4 foot long.
Mark- Rubicon Trail
- Posts : 1300
Join date : 2011-12-10
Location : Haverhill, MA
Re: Building the Box
![]() THOOPY3 4/18/2013, 9:04 am
THOOPY3 4/18/2013, 9:04 am
I can attest first hand; it fits assembled and it fits damn well.

THOOPY3- Moab Dessert
- Posts : 626
Join date : 2012-03-13
Age : 34
Location : Woburn, MA -
Re: Building the Box
![]() Ryan McKee 4/19/2013, 4:44 pm
Ryan McKee 4/19/2013, 4:44 pm
With the iPad monitoring ABC News, and the Jeep scanner turned to the BPD radios......
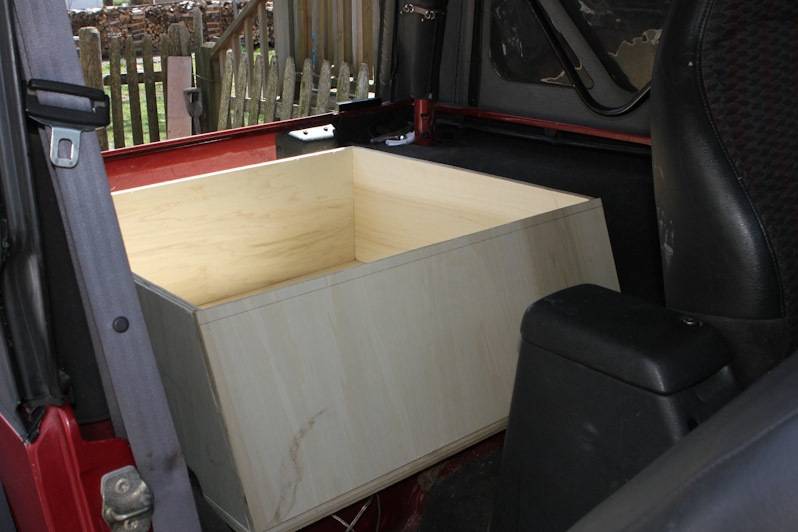
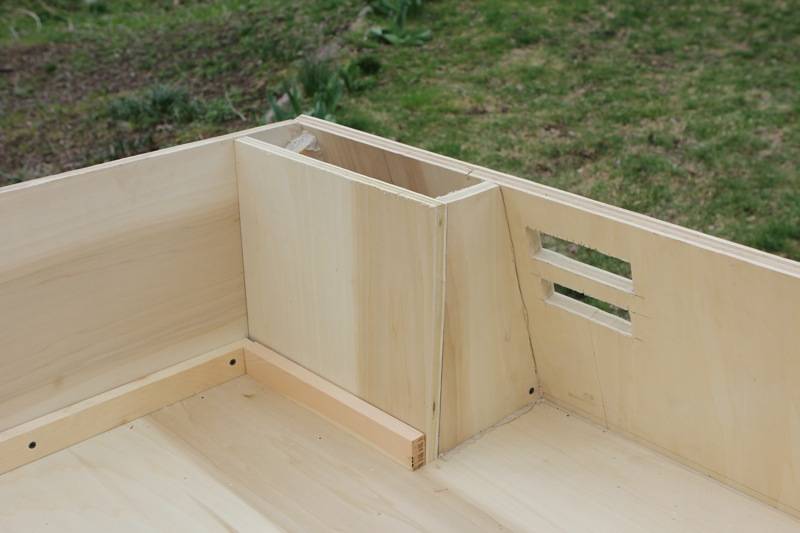
I got a lot of work done today. I used some 1x2" wood to act as a brace along all of the vertical walls. This is allowing me to make all of the screw heads on the inside of the trunk instead of the outside where they're potentially ugly! The exception to this will be on the top of the trunk. So I got the walls up, cut the angle for the front speaker face, and started gluing and screwing things into place. LiquidNails is awesome.
The most interesting point of this is going to be the subwoofer enclosure. I've never had to build one before, so we'll see if I can do this without screwing it up. Being the fact that it's a triangular enclosure, things can be more difficult. Details are as follows:

So that's the plan! The hardest part is going to be sealing the sub side up. I'm going to do my best, so we'll see how that turns out. Here are a few more photos...

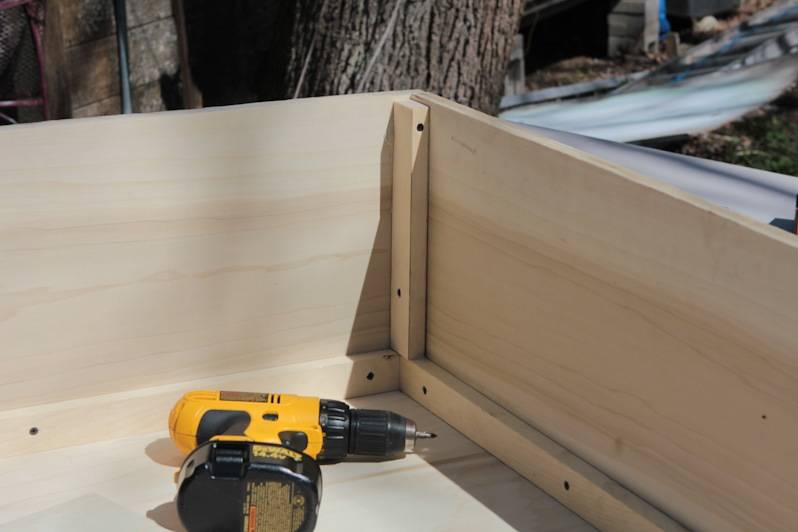


I got a lot of work done today. I used some 1x2" wood to act as a brace along all of the vertical walls. This is allowing me to make all of the screw heads on the inside of the trunk instead of the outside where they're potentially ugly! The exception to this will be on the top of the trunk. So I got the walls up, cut the angle for the front speaker face, and started gluing and screwing things into place. LiquidNails is awesome.
The most interesting point of this is going to be the subwoofer enclosure. I've never had to build one before, so we'll see if I can do this without screwing it up. Being the fact that it's a triangular enclosure, things can be more difficult. Details are as follows:
So that's the plan! The hardest part is going to be sealing the sub side up. I'm going to do my best, so we'll see how that turns out. Here are a few more photos...
Ryan McKee- Admin
- Posts : 1242
Join date : 2011-12-09
Location : Reading, MA -
Re: Building the Box
![]() Ryan McKee 4/21/2013, 4:58 pm
Ryan McKee 4/21/2013, 4:58 pm
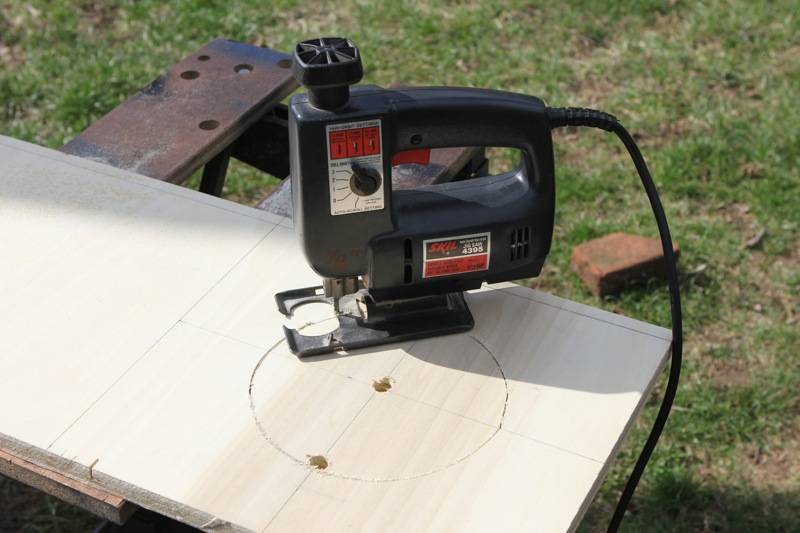
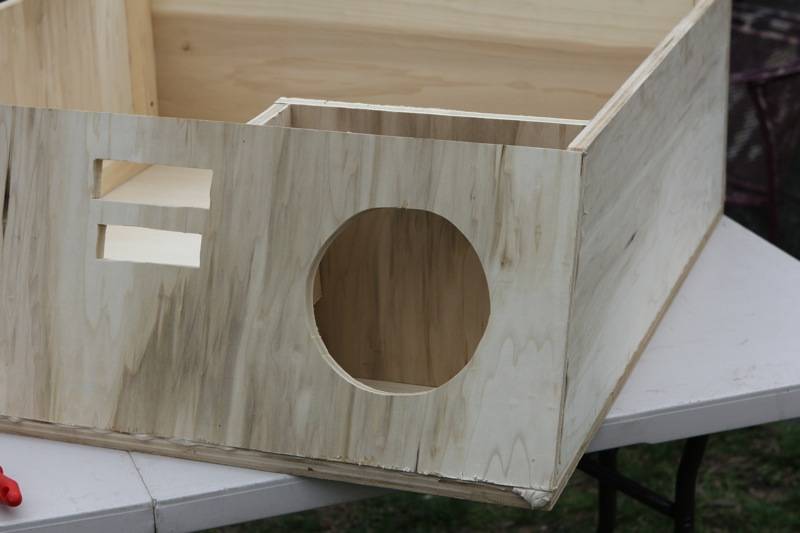
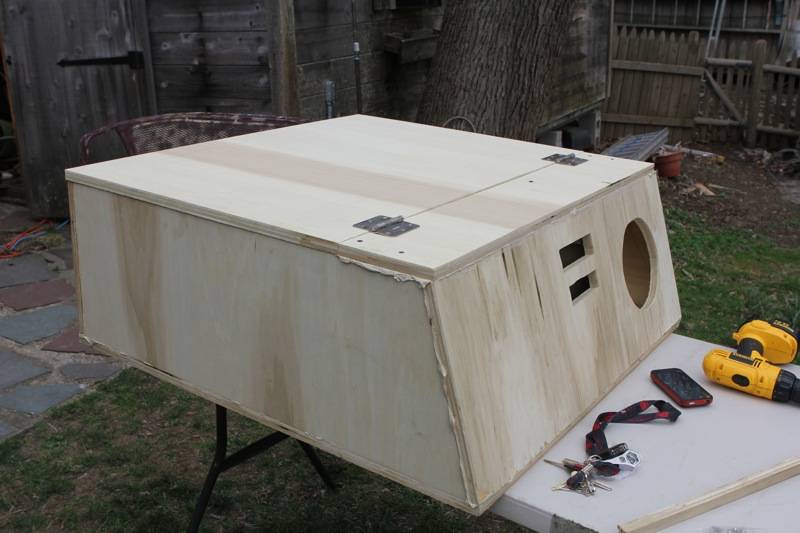
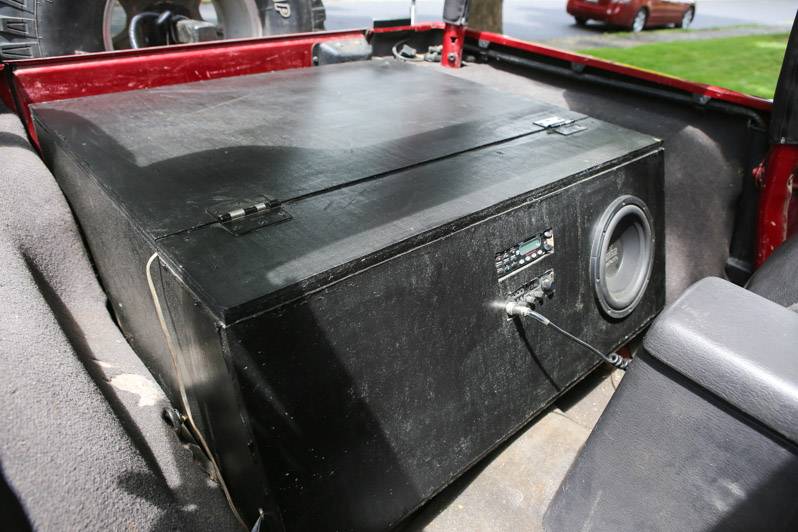
Did some more work on the box yesterday once the clouds cleared. I started out measuring my crop circle to cut the subwoofer port out of. The sub enclosure follows the measurements above, and the 8" driver will fit nicely inside the port. I then came to a crossroads, debating cutting out holes for my CB and scanner in the front face as well. Reason for this is that I've got a weld-in cage waiting in my shed for me to have time to install. The current location of my radios is right where the A-Pillar support under the windshield will be, which will ultimately relocate them. So I took the jig saw and cut out 2 fitted holes for the two radios as well. This way wiring can go up to the dash for an external speaker for both radios. After that came a TON of glue (crazy how quickly I went through a tube of it) and sealing things up. I used 2 large hinges from Depot on the deck, and the box is now mostly assembled.
What's left is going to be painting it, drilling the holes for the bolts to mount it, and wiring it up for the speakers, radios, and amplifier.


What's left is going to be painting it, drilling the holes for the bolts to mount it, and wiring it up for the speakers, radios, and amplifier.
Ryan McKee- Admin
- Posts : 1242
Join date : 2011-12-09
Location : Reading, MA -
Re: Building the Box
![]() CrawlingForward 4/22/2013, 11:53 am
CrawlingForward 4/22/2013, 11:53 am
That is awesome.
Two questions: 1) Did you pick wood over metal fab for any sound-related reasons, or was it because it's easier to work with (and cheaper too, I imagine).
2) If you're going to paint it, why did you pick such a beautiful wood, ha ha?
Seriously, though. Your fabrication skills never cease to impress me. Really well thought-out work, Ryan.

CrawlingForward- Moab Dessert
- Posts : 822
Join date : 2011-12-09
Age : 39
Location : Flushing, MI -
Re: Building the Box
![]() Ryan McKee 4/22/2013, 12:53 pm
Ryan McKee 4/22/2013, 12:53 pm
CrawlingForward wrote:That is awesome.
Two questions: 1) Did you pick wood over metal fab for any sound-related reasons, or was it because it's easier to work with (and cheaper too, I imagine).
2) If you're going to paint it, why did you pick such a beautiful wood, ha ha?
Seriously, though. Your fabrication skills never cease to impress me. Really well thought-out work, Ryan.
Thanks, Geoff.
1) Chose wood for cost, weight, useability, and strength. In order to do the same thing with steel it would need to be a heavy enough gauge to withhold a good amount of mass on top, while not being too heavy to move around on my own. This box is surprisingly light, albeit somewhat awkward to carry. Sound was a component too, but really it came down to cost. $37 for each sheet of the Poplar. I actually managed to build it with one single 4x8 sheet, not even touching the second one. That says something for measure 3x, cut once.
2) Picked a beautiful wood because it is much higher grade, and wasn't a horrific particle board material. Judge me if you must......
I started painting it Saturday. I'll snap a few photos. Have a few more things to do
- Amp wiring
- CB/scanner electrical wiring
- CB/scanner external speaker wiring
- Amplifier installation
- Speaker cabinet insulation
- Latches
- Hydraulic pistons install
Ryan McKee- Admin
- Posts : 1242
Join date : 2011-12-09
Location : Reading, MA -
Re: Building the Box
![]() Ryan McKee 6/6/2013, 2:04 pm
Ryan McKee 6/6/2013, 2:04 pm
Realized I never posted the rest of the photos... Wiring isn't 100% yet.

Ryan McKee- Admin
- Posts : 1242
Join date : 2011-12-09
Location : Reading, MA -

dongalonga- Rubicon Trail
- Posts : 1047
Join date : 2012-03-20
Age : 40
Location : Lowell, MA
Page 1 of 1
Permissions in this forum:
You cannot reply to topics in this forum|
|
|