My JKuR build
+8
Mark
Scarytallman
Tonellin
CrawlingForward
DakotaBuck
dongalonga
desertzj
AquilesT
12 posters
Page 3 of 3
Page 3 of 3 •  1, 2, 3
 Re: My JKuR build
Parts have been ordered:
-2 mopar inner axles seals from ebay at $11.95 and at $14.95 (individual sellers). I ordered part #5014852AB as this is the original designed part (one piece seal), Mopar now has part # 5014852AC which is a two piece design and apparently isnt as 'fool proof' since one end spins and if you remove the axle shaft you wont know if the two parts are together or not. i Thought about going with crown seals since it seams they make alot of jeep/quality stuff but read somewhere online that their seals were a bit thinner(at $5 it was worth considering but because of the headache of maybe having to do this job twice, i decided against it)
-1 D44 PS Bombshell diff cover
-1 D44 Lubelocker
now i need to read, read and do some more reading on write ups. Hopefully i dont blow up my diff.
AquilesT- Class 6A
- Posts : 198
Join date : 2013-08-15
Location : Roslindale
 Re: My JKuR build
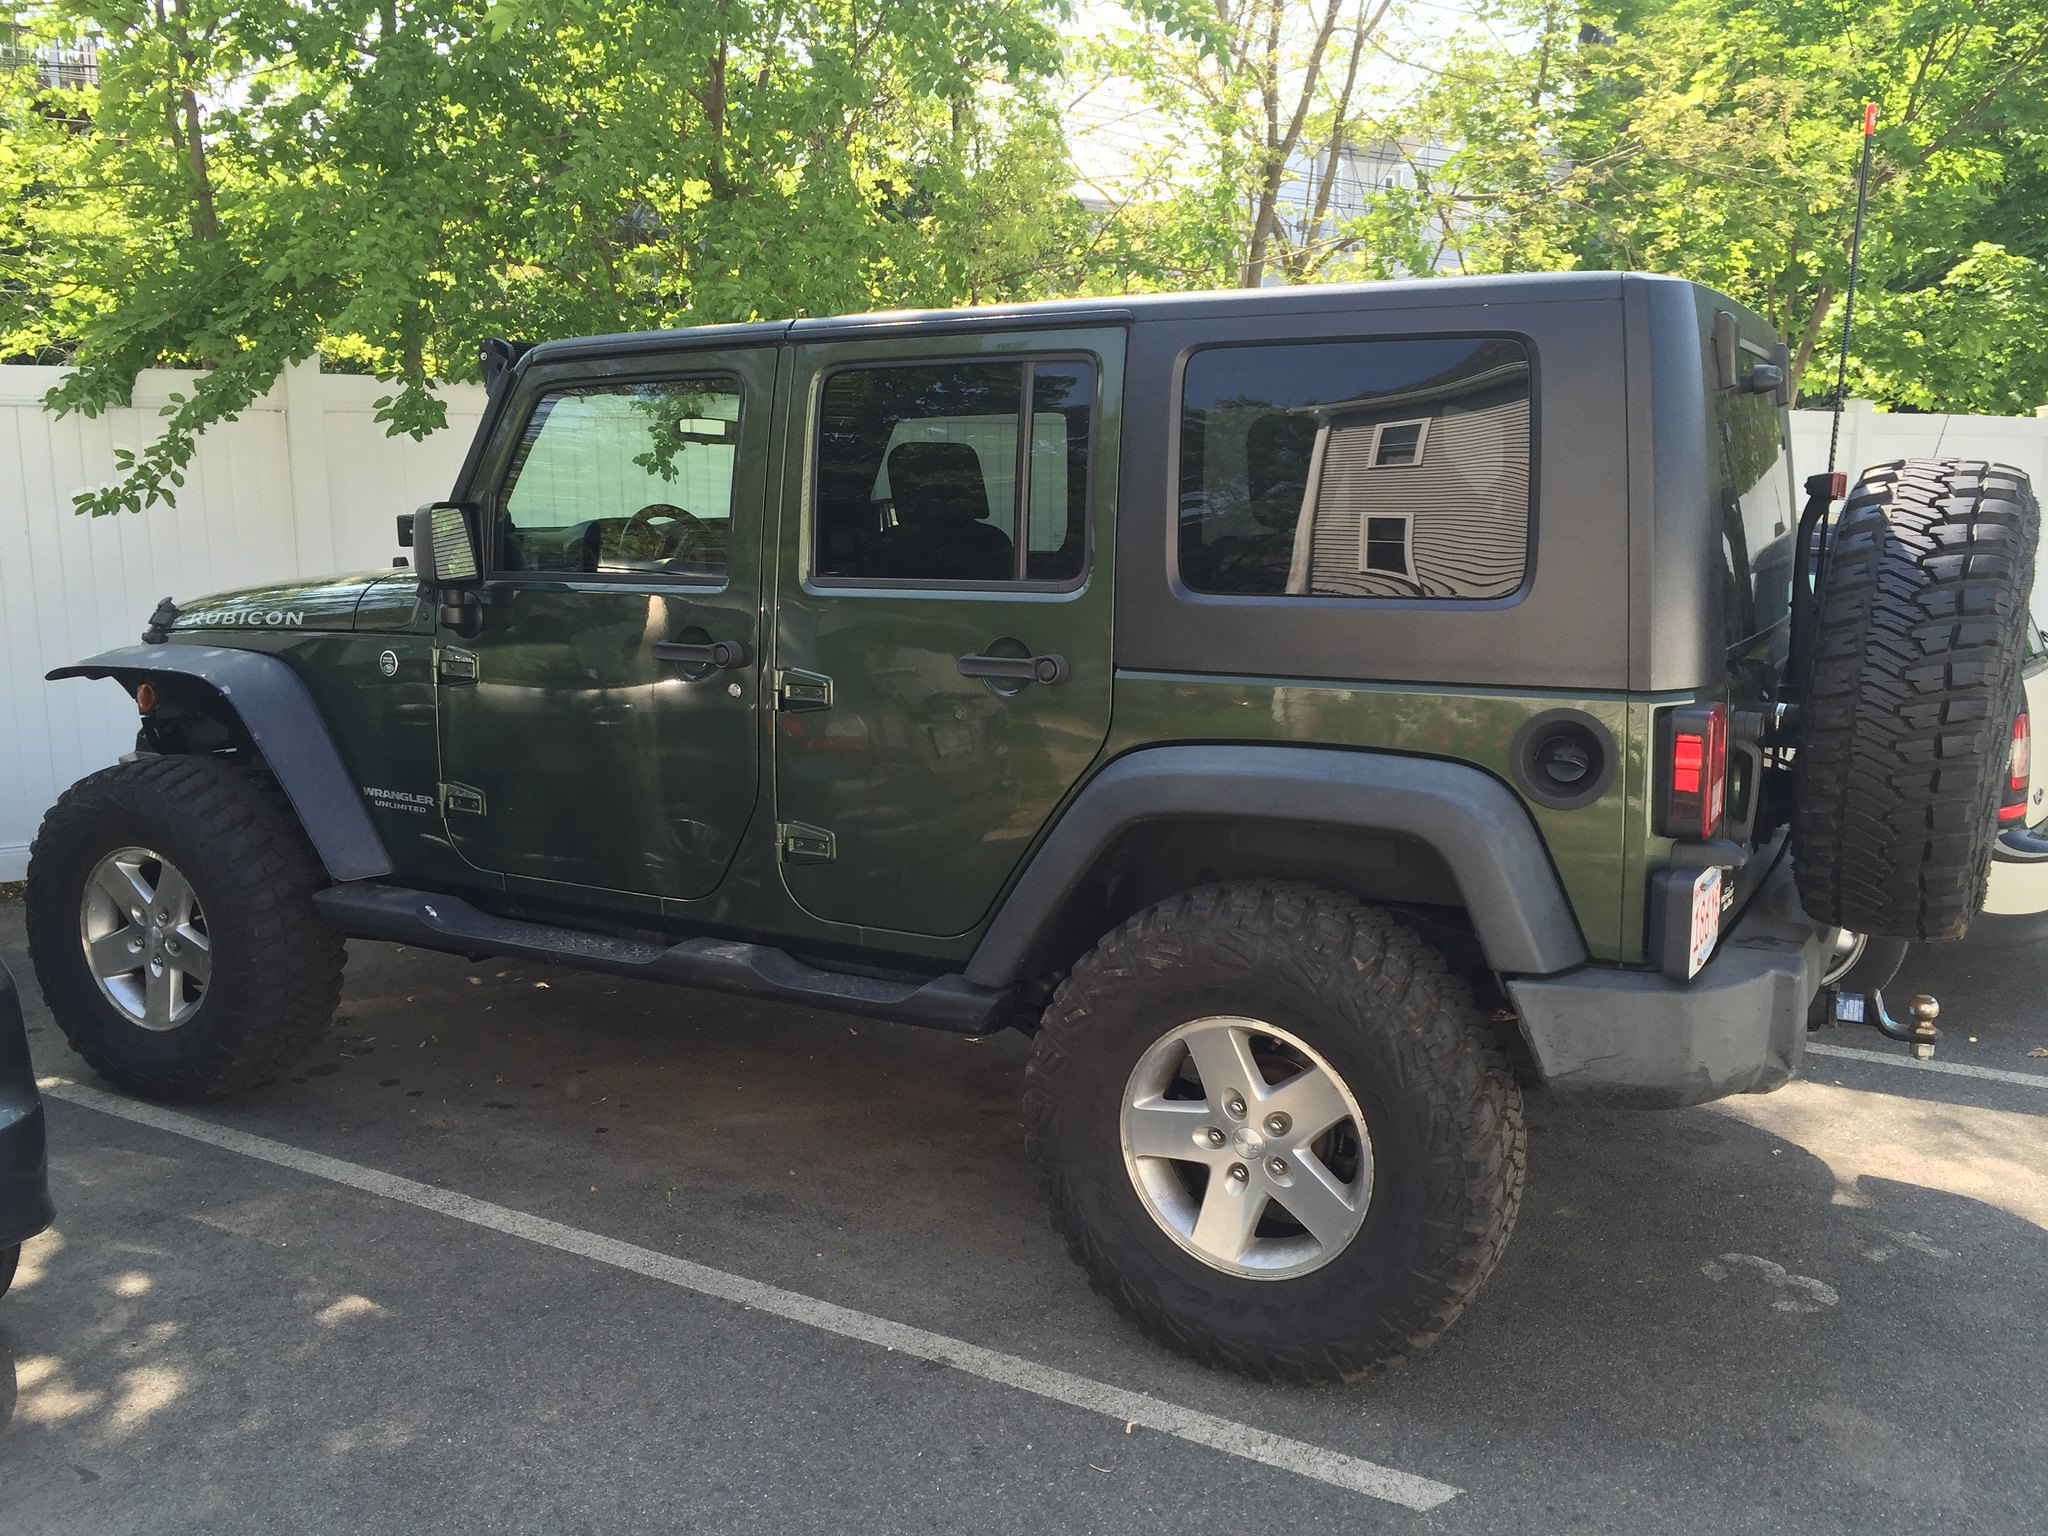
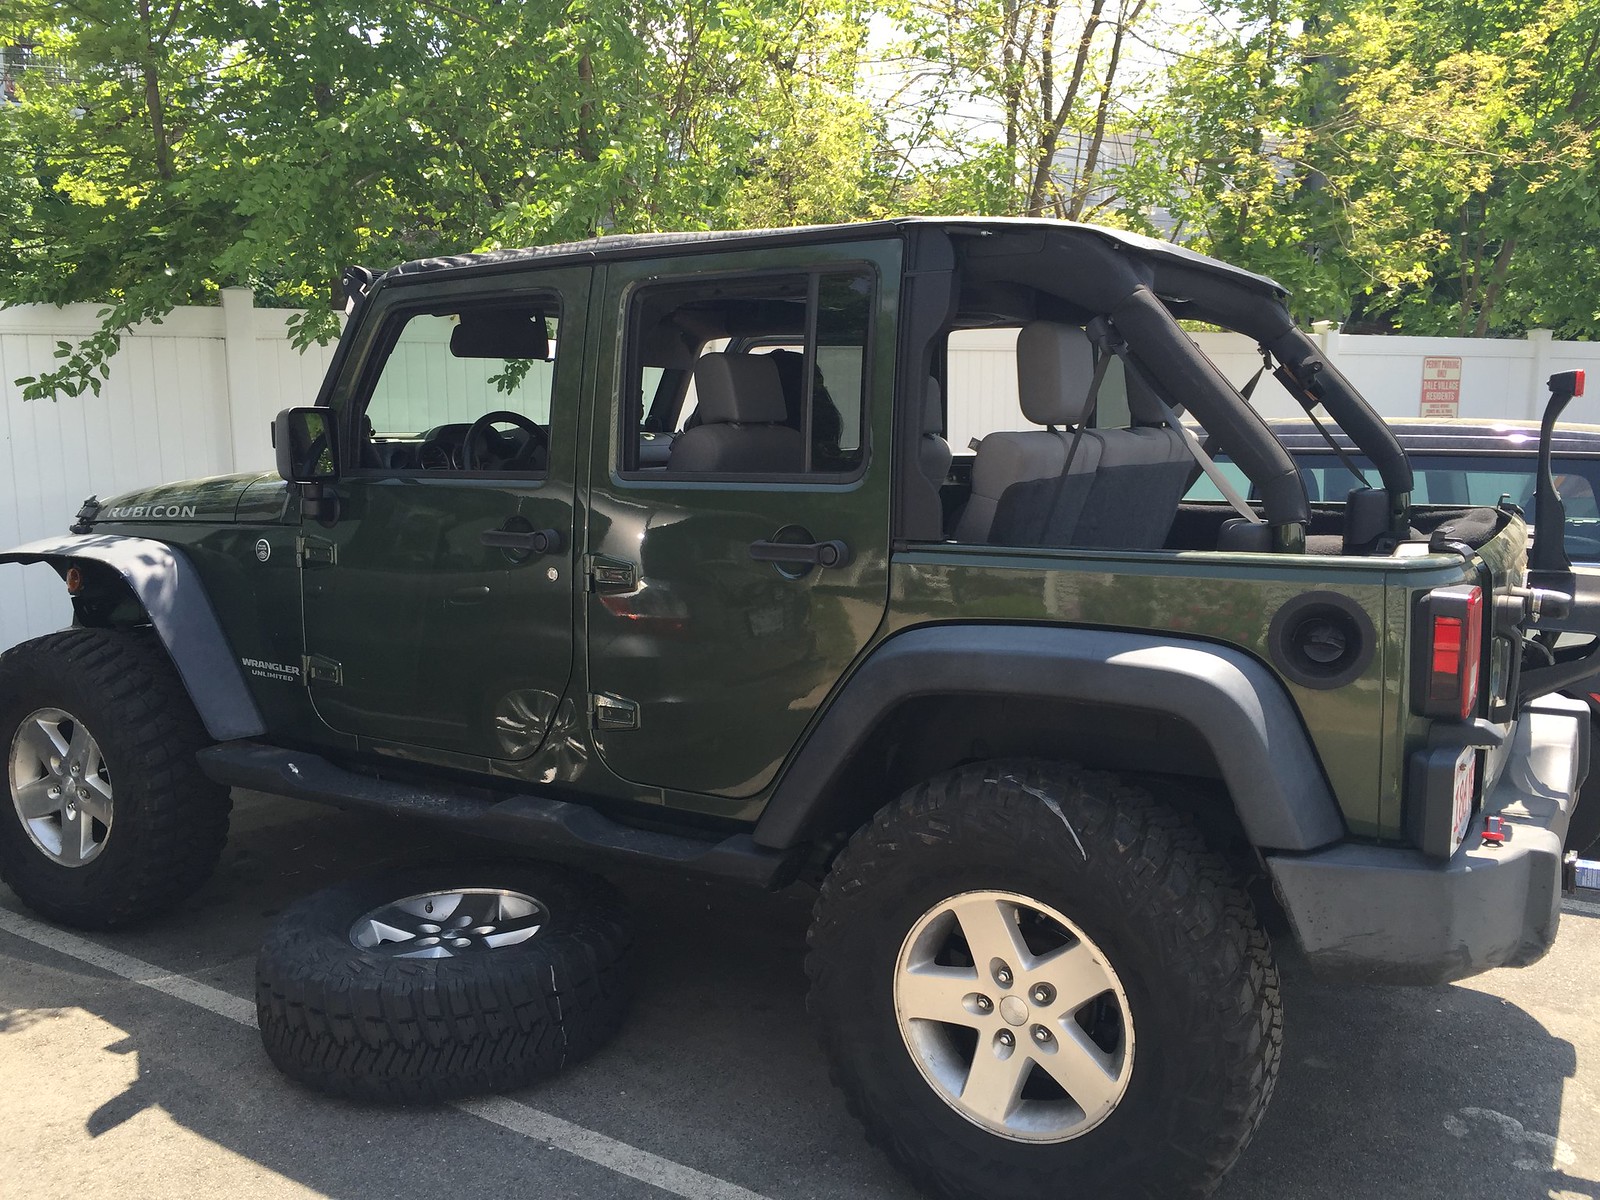
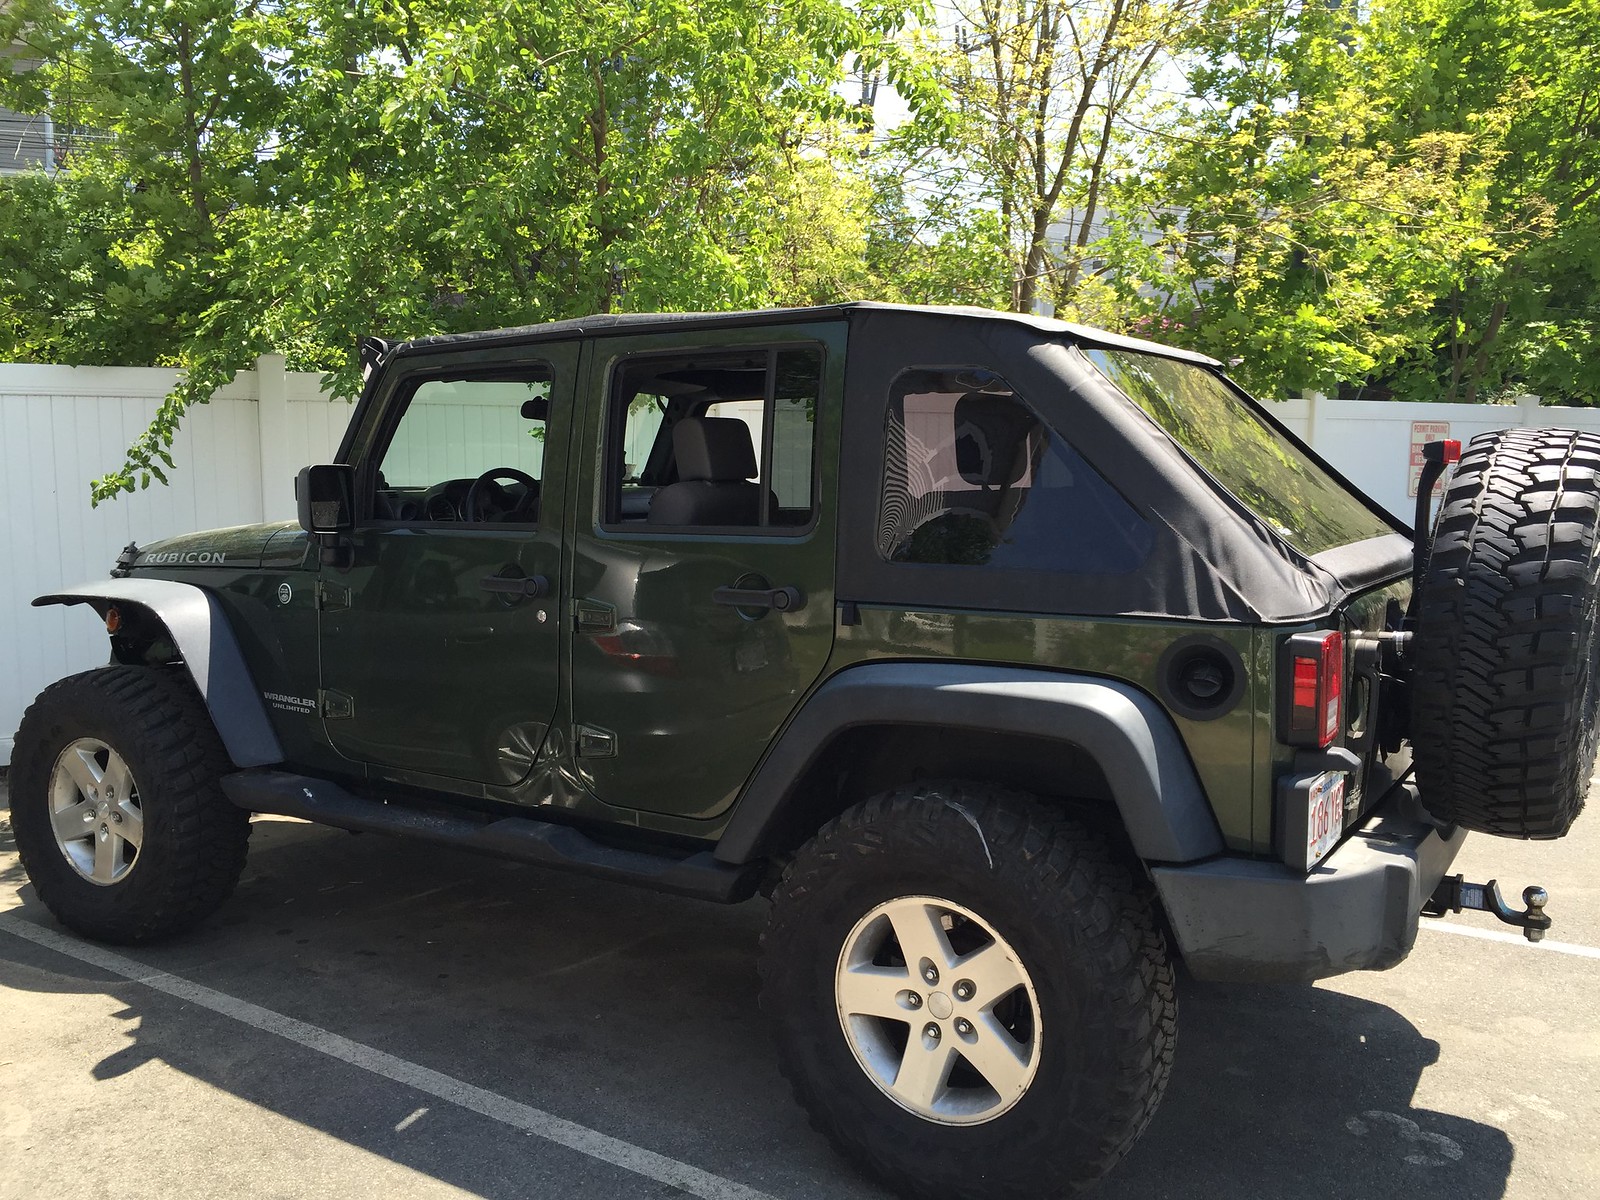
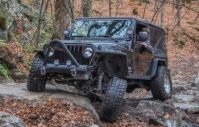
The new look change over the weekend .. (Found out i had a leak at the header.. But this may be a matter of forward adjustment on the sunrider pivot brackets to give the header a closer/tighter seal)


AquilesT- Class 6A
- Posts : 198
Join date : 2013-08-15
Location : Roslindale
 Re: My JKuR build
Looks awesome..of course you put the soft top on right before we get 3 days of rain haha
Tonellin- Rausch Creek
- Posts : 313
Join date : 2013-01-08
Location : Medford
 Re: My JKuR build
Did my axle seals yesterday/today .
The oil came out like a melted half vanilla half chocolate soft serve ice cream.
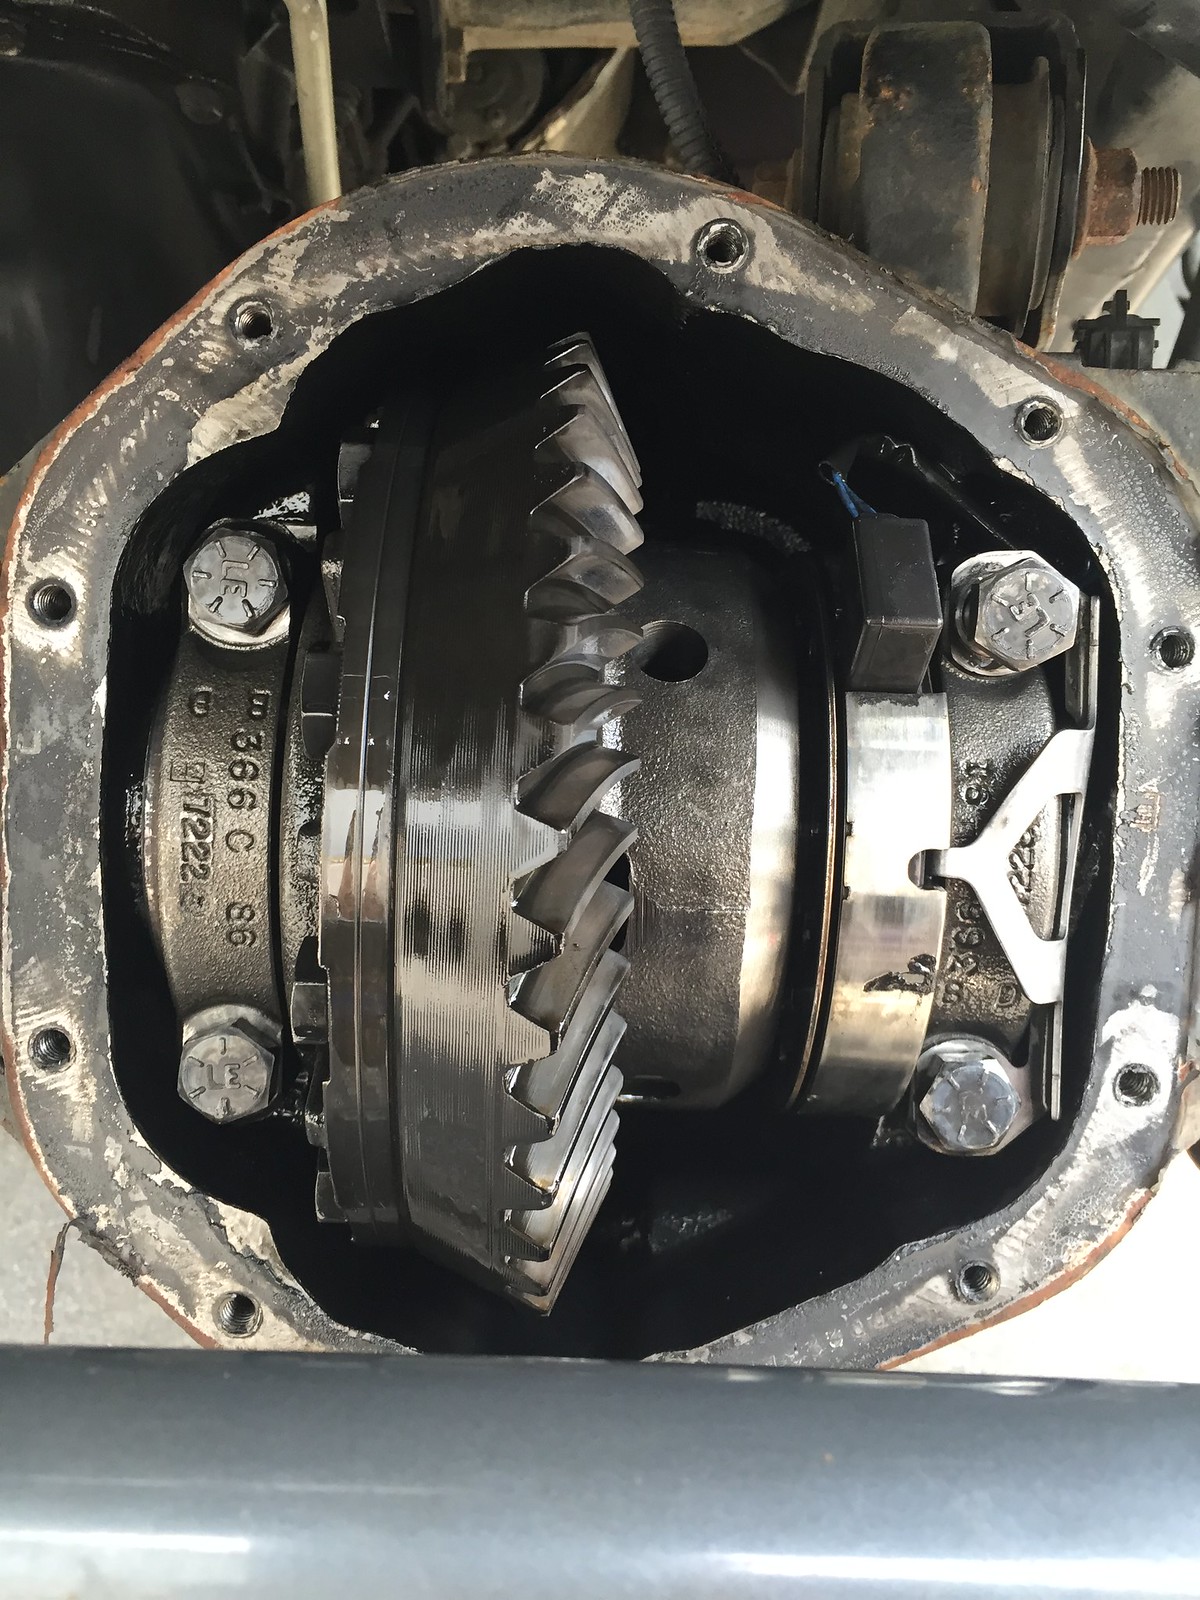
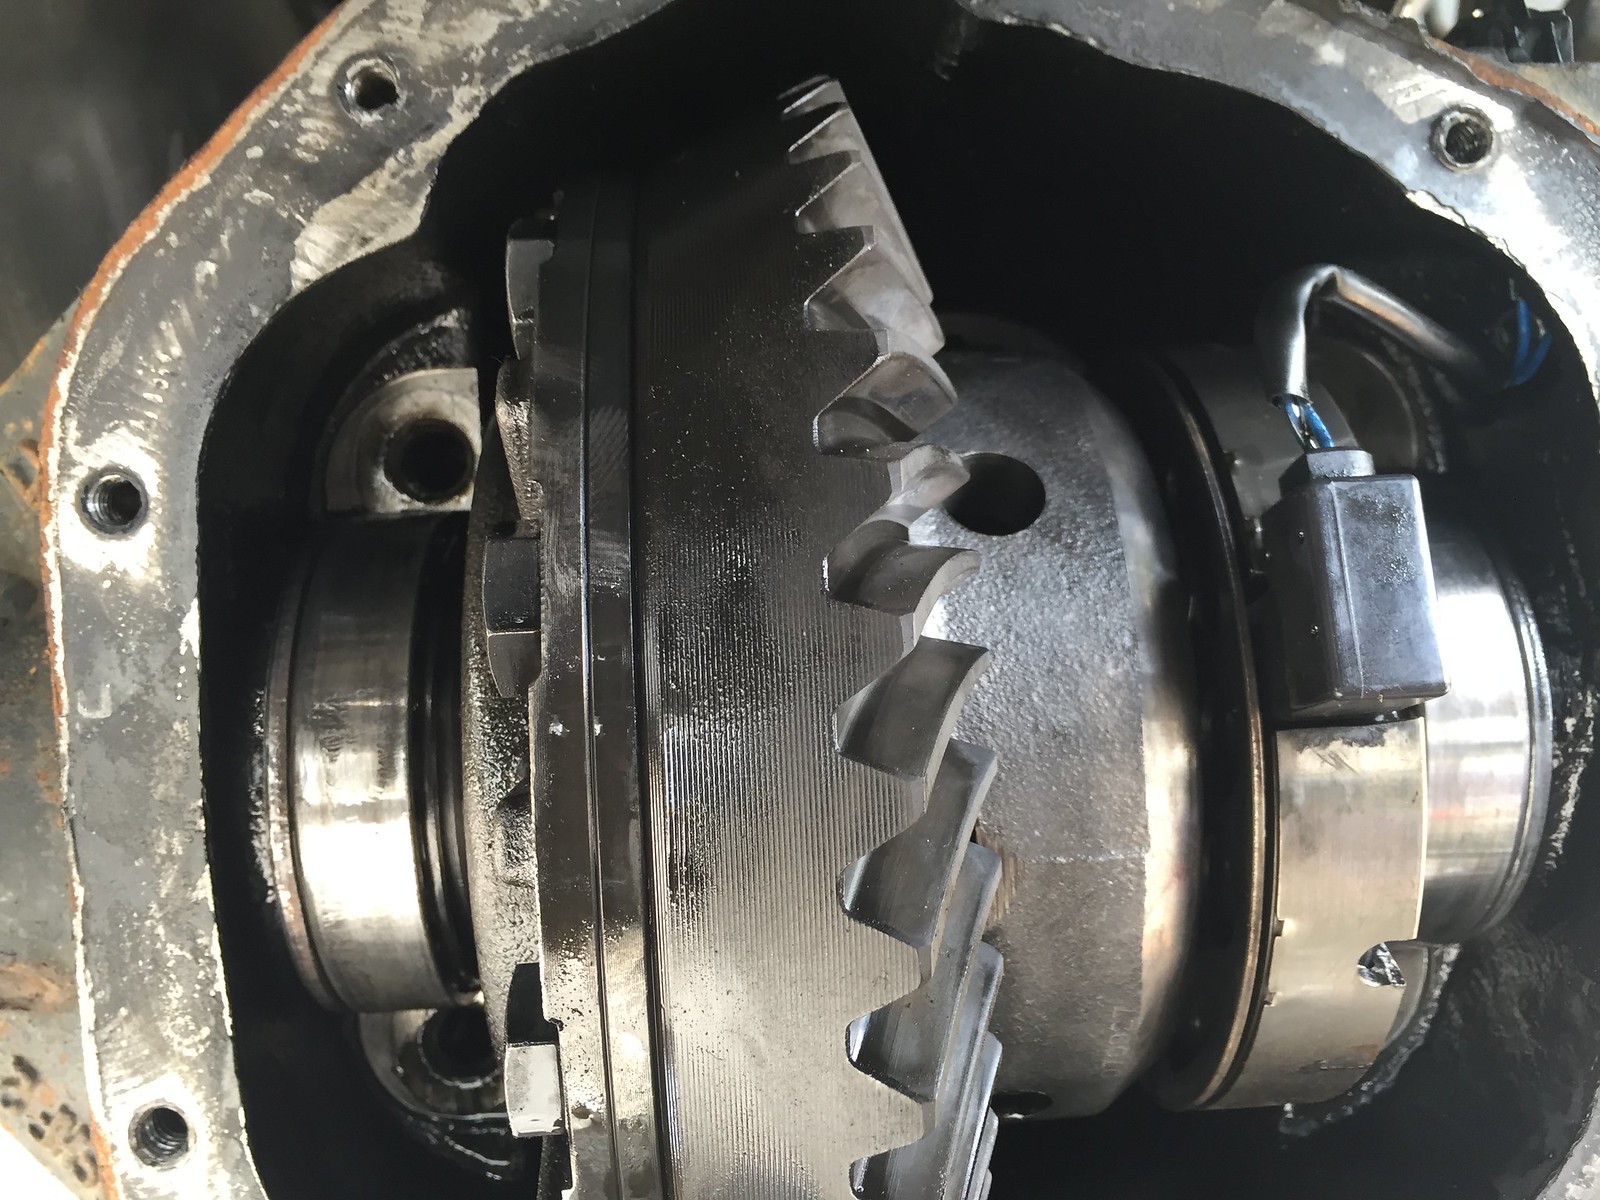
Had a hiccup in which i couldnt actually remove the whole carrier because theres a locker wire that inorder to free the carrier would have had to be cut/broken off.
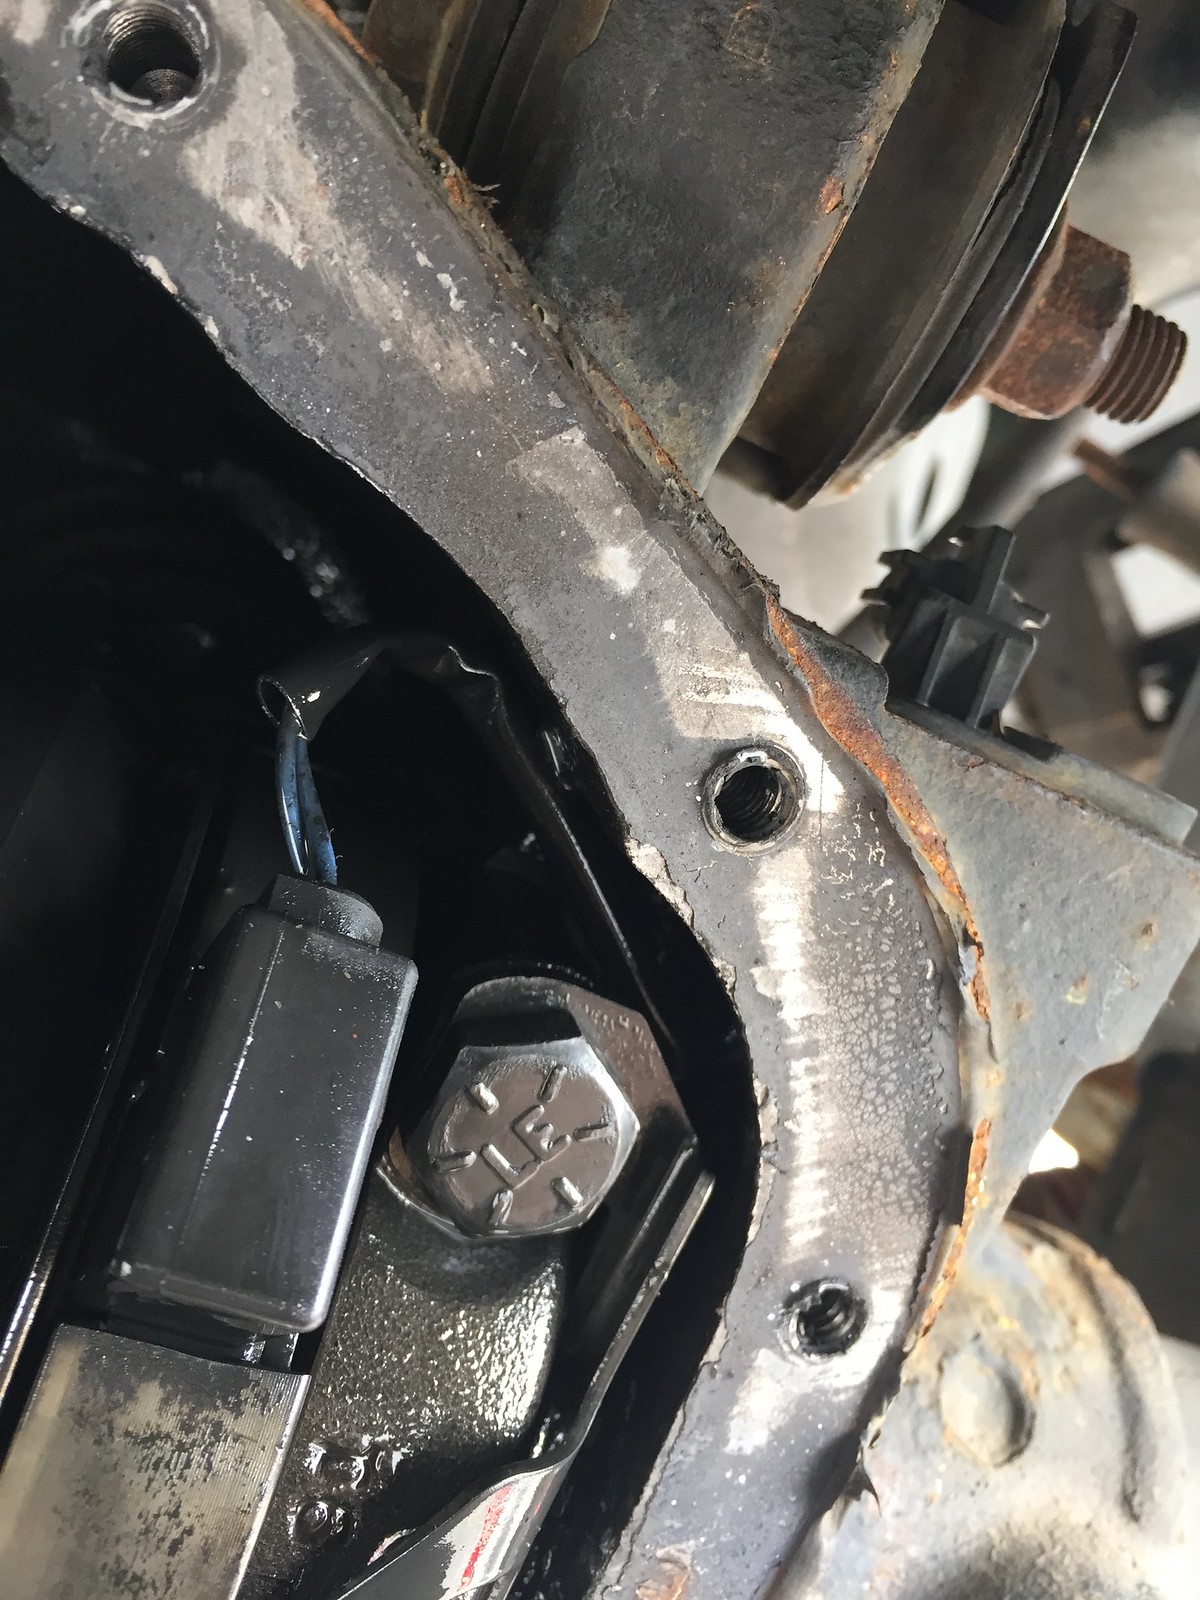

Ended up getting a second pair of hand (my father) and a jack stand to hold the ring up and out of the way while i removed and seated the seals in place. Marked everything during removal in order to put it back together the same way without issues. Also rented the driver set from auto zone and it was less than 5 mins a seal i made sure the seals were up against the inner axle lip evenly all around, and then button everything back up. On removing the old seals i got back all the axle shaft guides (3 of 4 were reusable ) i used 2 on the passenger side and 1 for the driver side.
(i couldn't take pictures for these parts because my father was holding the ring up this whole time so i wanted to be as quick/efficient as possible)
NOTE: on re-install i had to do the rubi locker trick. theres a youtube video for this but evessentially its holding the locker plunger open with an item tied with something that can be pulled out after everything is in and bolted down. Once pulled the plunger will retract and go on the locker plate.
here is the end result (don't mind the rust)
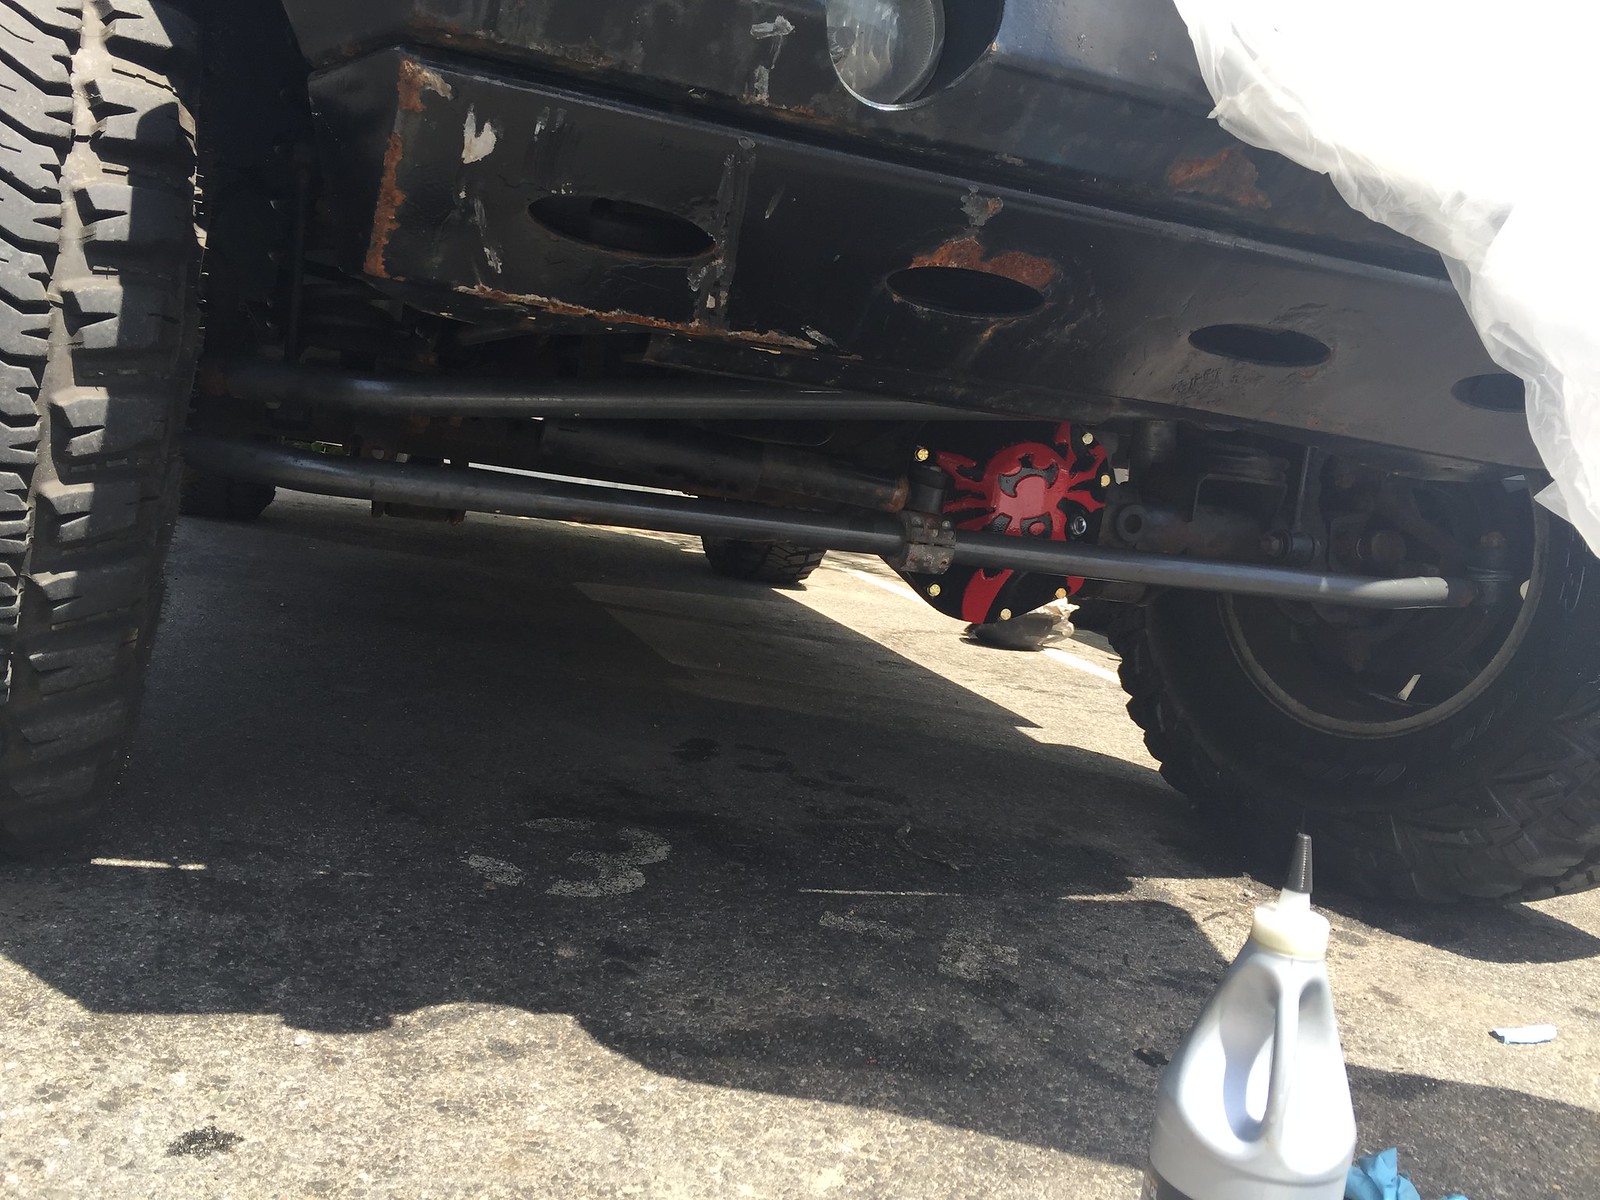

So the not so good part.....
after driving around for 2-3 hours no leaks as previously occurred. but parked and while putting my top back up i noticed a drop from the same axle tube(driver) that was previously leaking. I didn't clean the tube itself just the pumpkin and seal area. I HOPE this is just left over old leaked juice seeping out from the axle tube as it was just 1 drop and not a couple. i guess it will be a couple of days/weeks before i can finally find out.
any thoughts?
The oil came out like a melted half vanilla half chocolate soft serve ice cream.


Had a hiccup in which i couldnt actually remove the whole carrier because theres a locker wire that inorder to free the carrier would have had to be cut/broken off.


Ended up getting a second pair of hand (my father) and a jack stand to hold the ring up and out of the way while i removed and seated the seals in place. Marked everything during removal in order to put it back together the same way without issues. Also rented the driver set from auto zone and it was less than 5 mins a seal i made sure the seals were up against the inner axle lip evenly all around, and then button everything back up. On removing the old seals i got back all the axle shaft guides (3 of 4 were reusable ) i used 2 on the passenger side and 1 for the driver side.
(i couldn't take pictures for these parts because my father was holding the ring up this whole time so i wanted to be as quick/efficient as possible)
NOTE: on re-install i had to do the rubi locker trick. theres a youtube video for this but evessentially its holding the locker plunger open with an item tied with something that can be pulled out after everything is in and bolted down. Once pulled the plunger will retract and go on the locker plate.
here is the end result (don't mind the rust)

So the not so good part.....
after driving around for 2-3 hours no leaks as previously occurred. but parked and while putting my top back up i noticed a drop from the same axle tube(driver) that was previously leaking. I didn't clean the tube itself just the pumpkin and seal area. I HOPE this is just left over old leaked juice seeping out from the axle tube as it was just 1 drop and not a couple. i guess it will be a couple of days/weeks before i can finally find out.
any thoughts?


AquilesT- Class 6A
- Posts : 198
Join date : 2013-08-15
Location : Roslindale
 Re: My JKuR build
Looks good! I'm a fan of the fastback style.
When you had the axle shafts out did you check for any damage where it meets the seal i.e. scoring or excessive wear? Hopefully just leftover gunk!
When you had the axle shafts out did you check for any damage where it meets the seal i.e. scoring or excessive wear? Hopefully just leftover gunk!
Jake- Rausch Creek
- Posts : 323
Join date : 2013-05-19
Location : Beverly
 Re: My JKuR build
I didnt look for specific damage given that the old seals weren't torn or even in bad condition. They looked like they had been replaced recently by the Prev Owner just knocked out by me a few weeks ago by mistake causing the leak.Jake wrote:Looks good! I'm a fan of the fastback style.
When you had the axle shafts out did you check for any damage where it meets the seal i.e. scoring or excessive wear? Hopefully just leftover gunk!
I did clean the teeth/spline on the shafts and then used some oil to help them pass through.

AquilesT- Class 6A
- Posts : 198
Join date : 2013-08-15
Location : Roslindale
 Re: My JKuR build
My latest addition to the JK.. HeadLights 
In the city driving with the poor JK headlights was fine (although sometimes i wondered are my lights even on?!?)
I previously had 6k 55w HID's in the halogen housing and those were way brighter than the stock halogen, then the harness broke and i instantly lost both headlights. So this wasnt a reliable source, i spent another year with the stock halogens and 2 weeks ago switched back to the same HID configuration. This time it wasnt as good i had remembered and the very next day had an issue with a single headlight. I did some research and of course names like JW Speaker, trucklite, KC, etc.. came up ranging from 330-$720+.
Then I stumbled across an led headlight with decent reviews (not dot approved, neither were my HID's in a halogen housing). So here is the result.
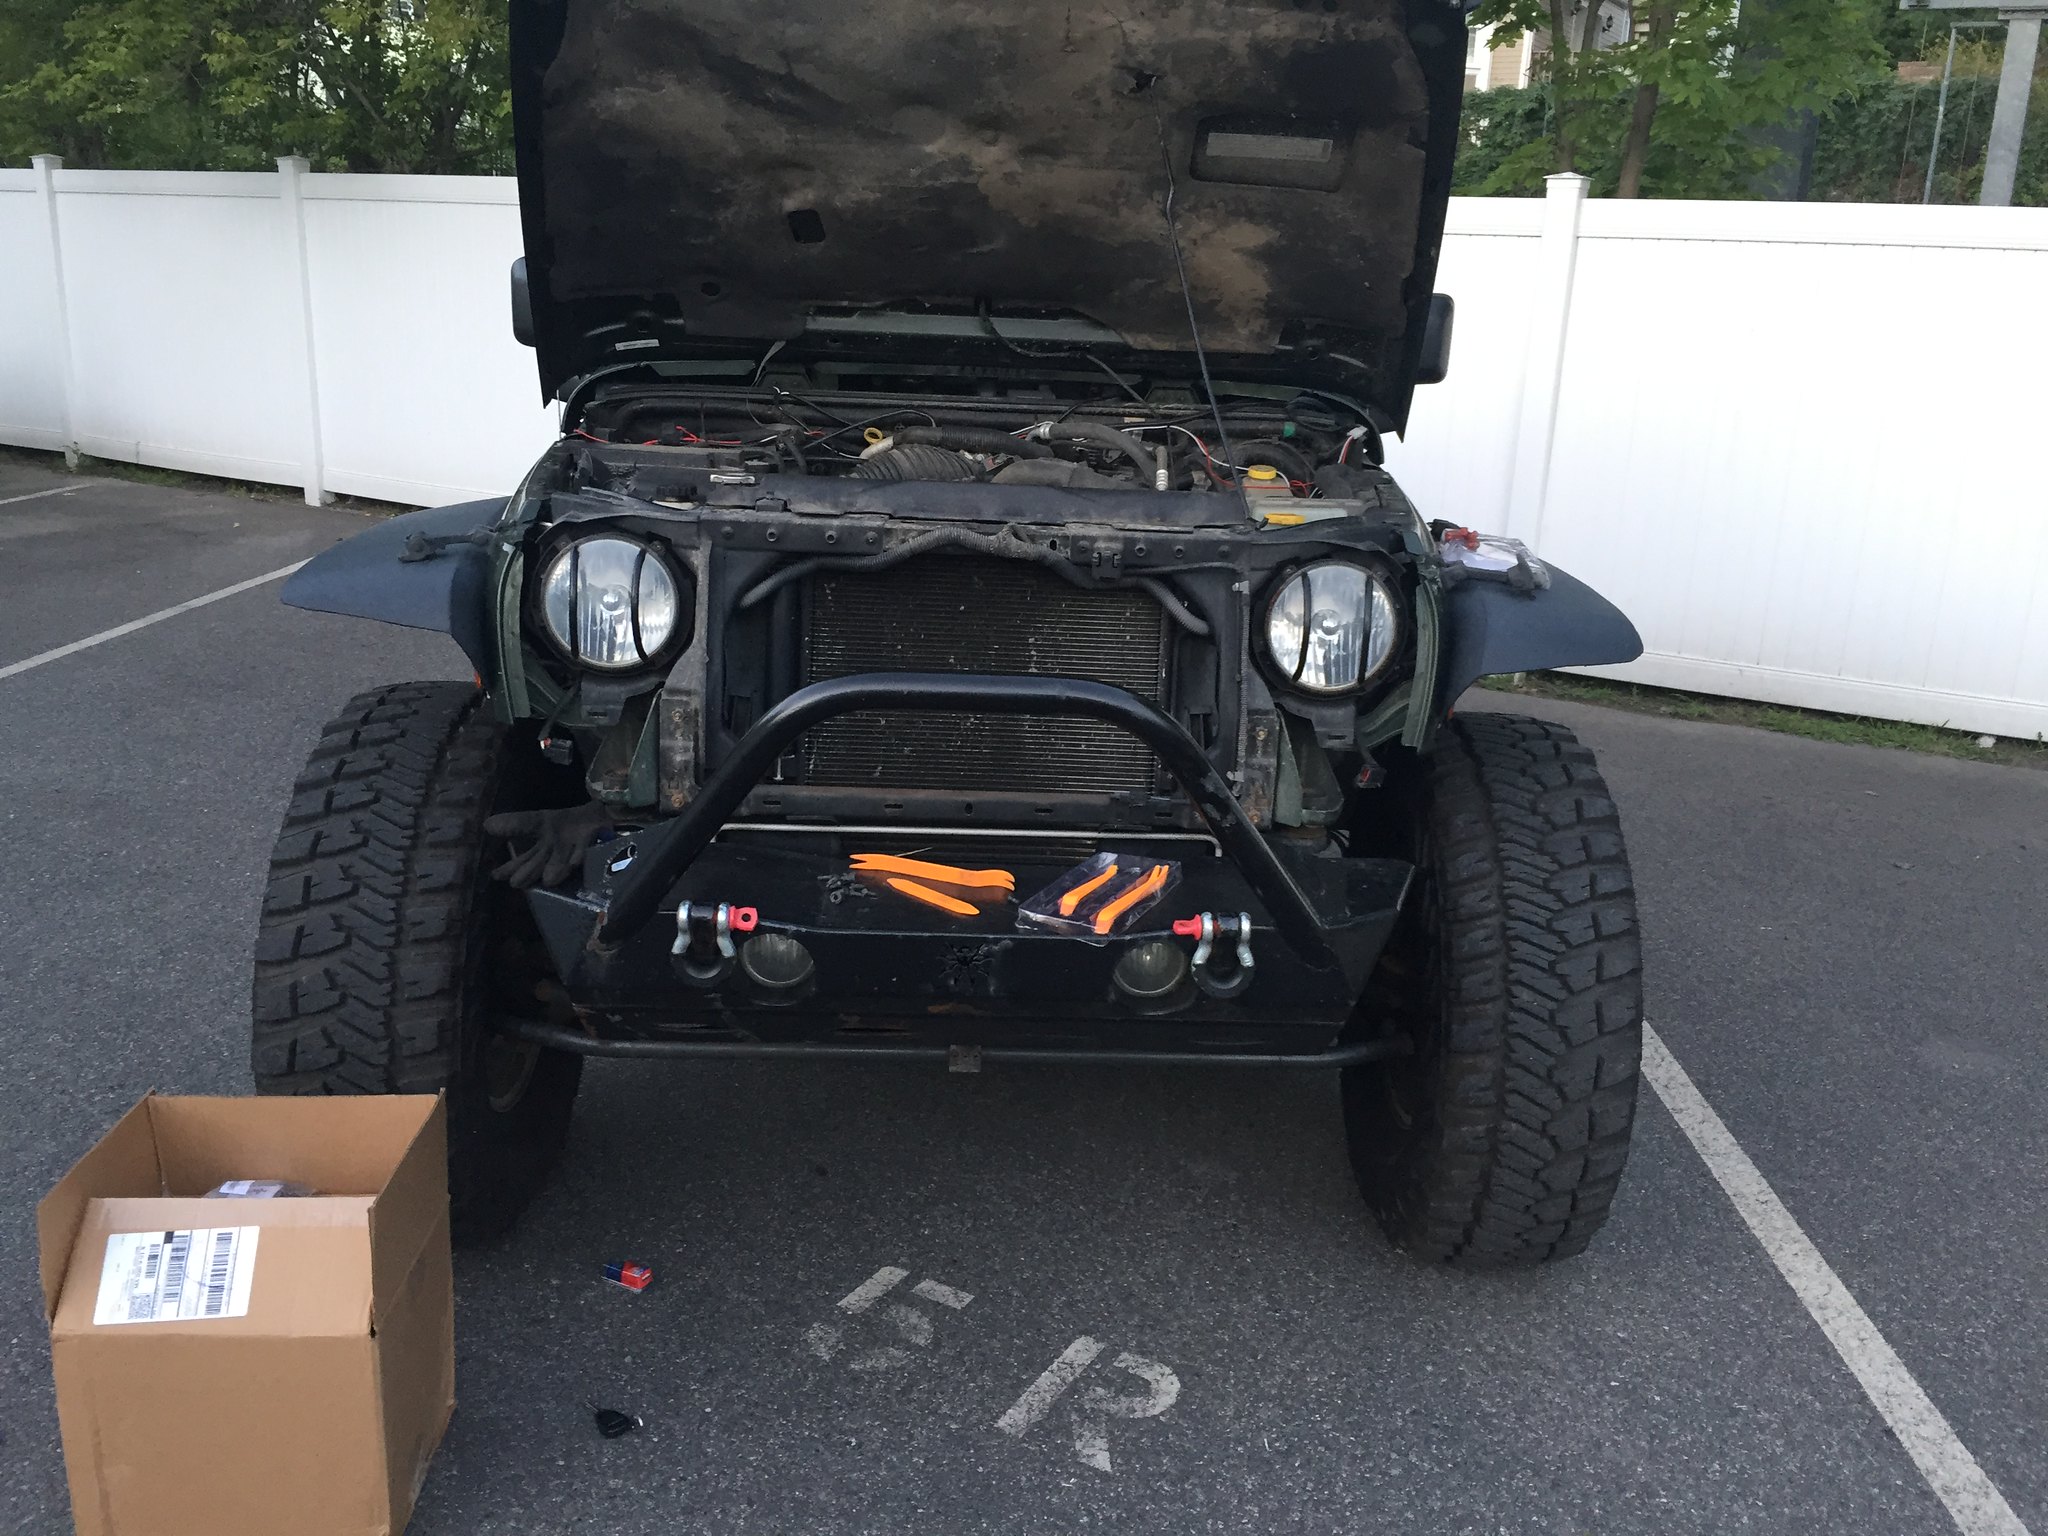
Out with the old and in with the new:
DRL-set to turn on with accesory lighting/side markers
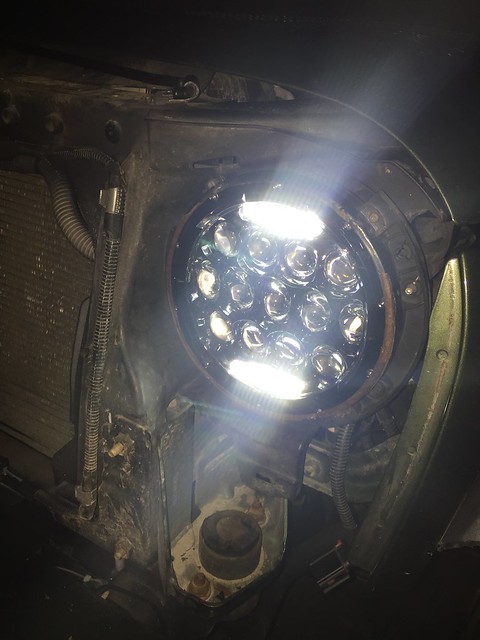
Low Beams-
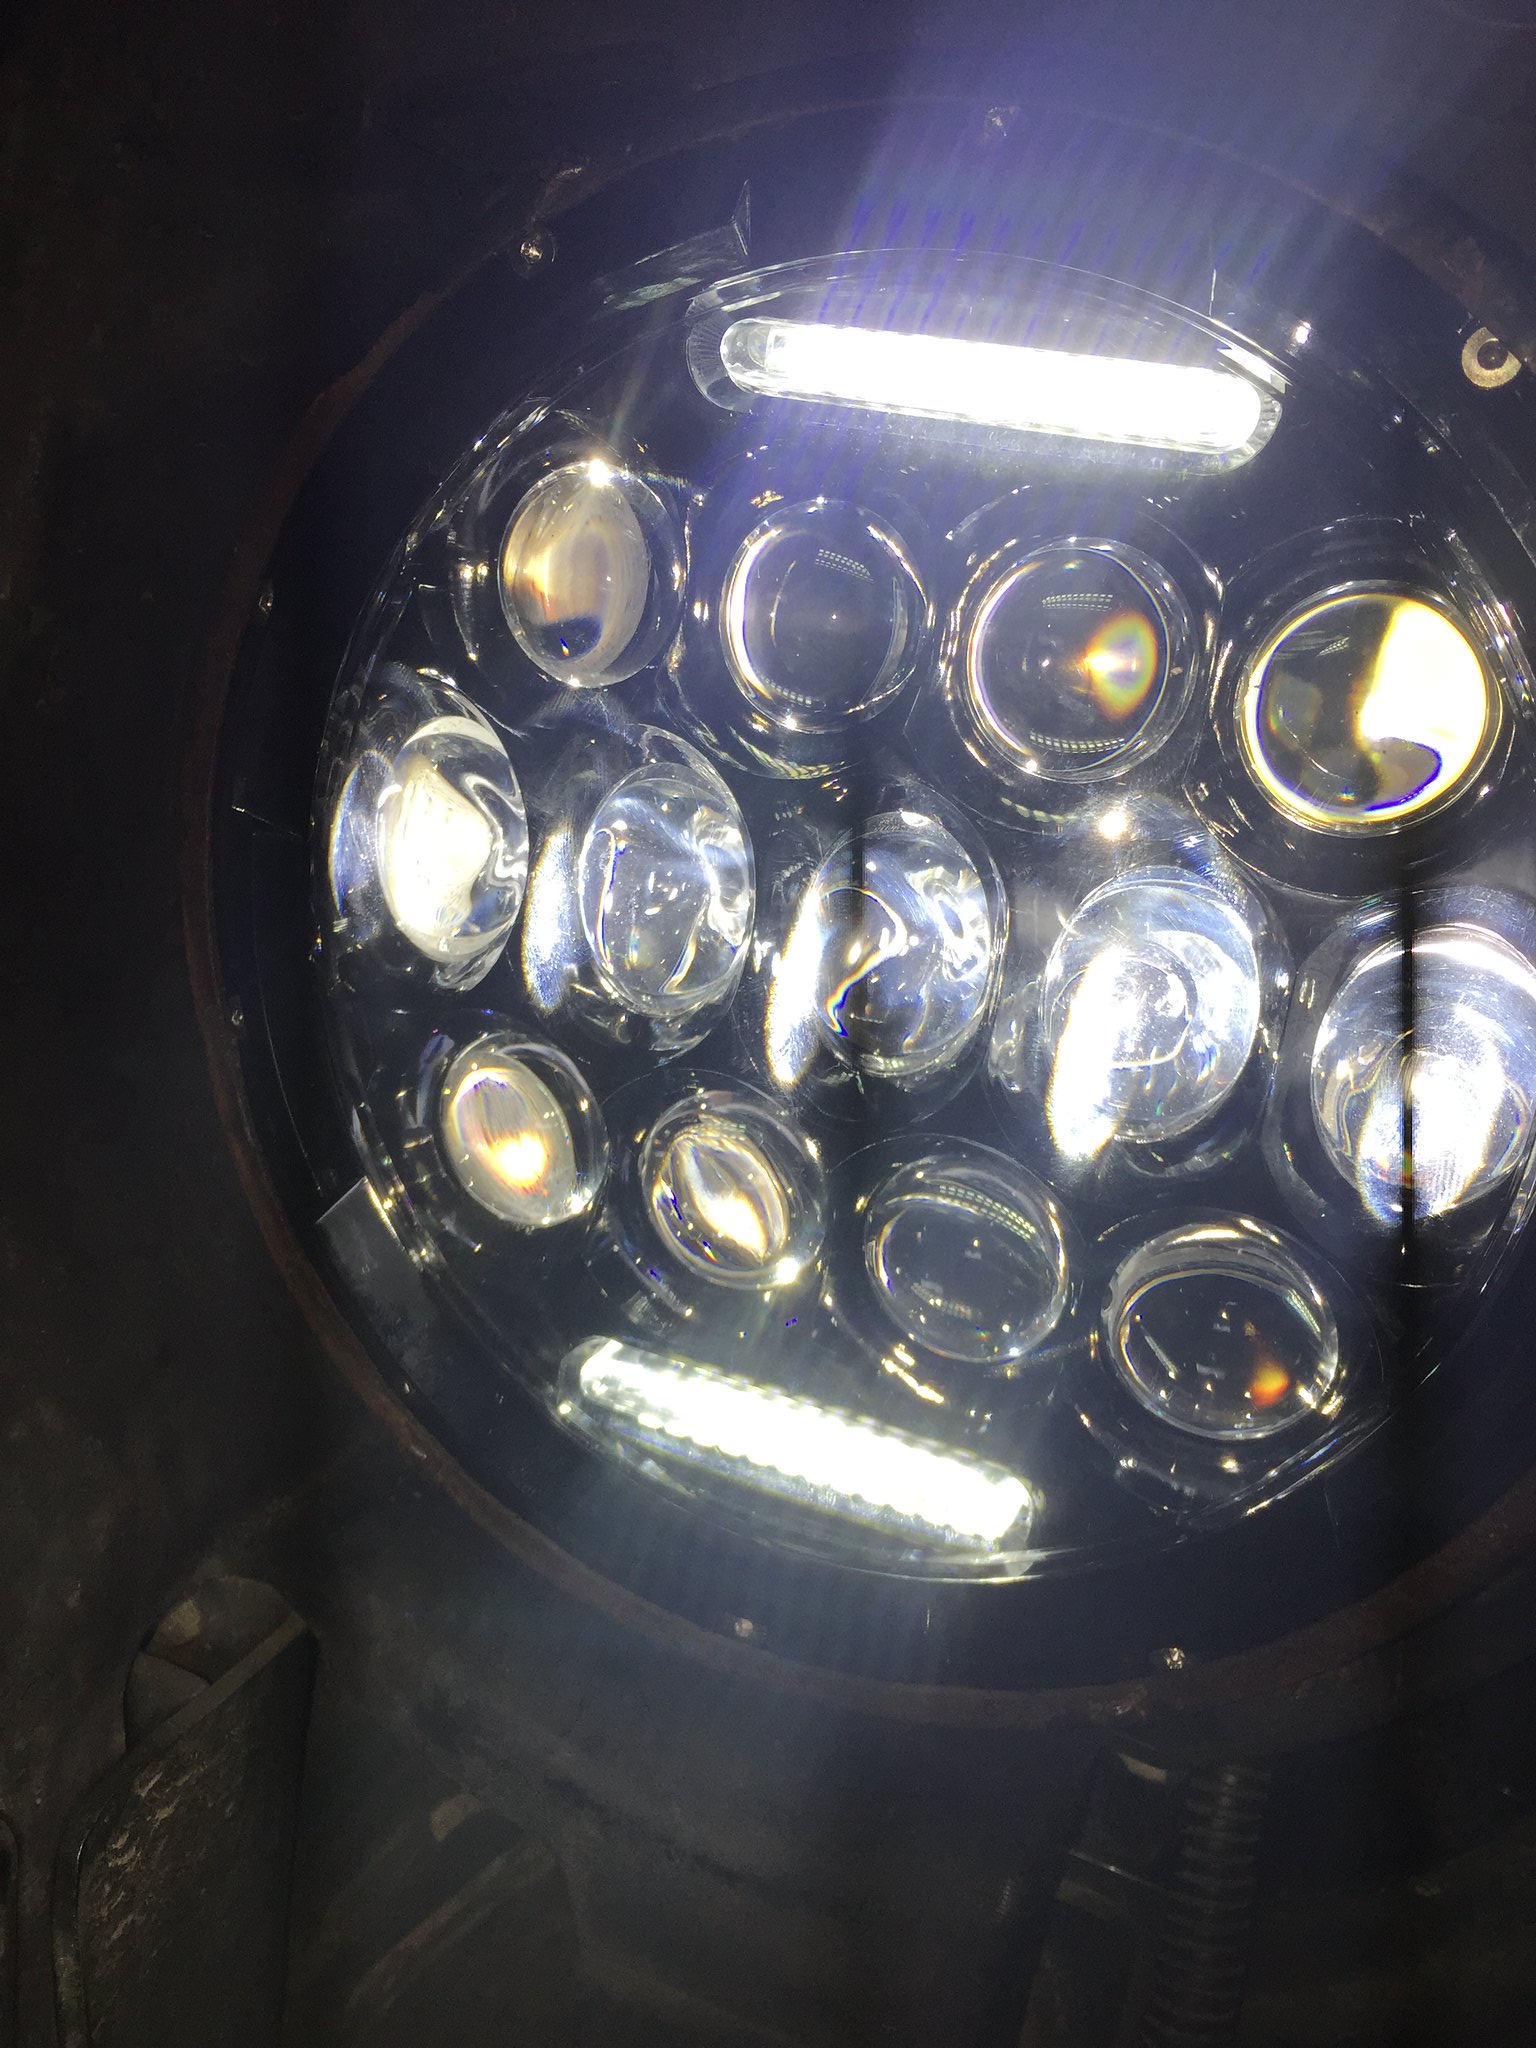
High beams-blurry pic but essentially a spot beam
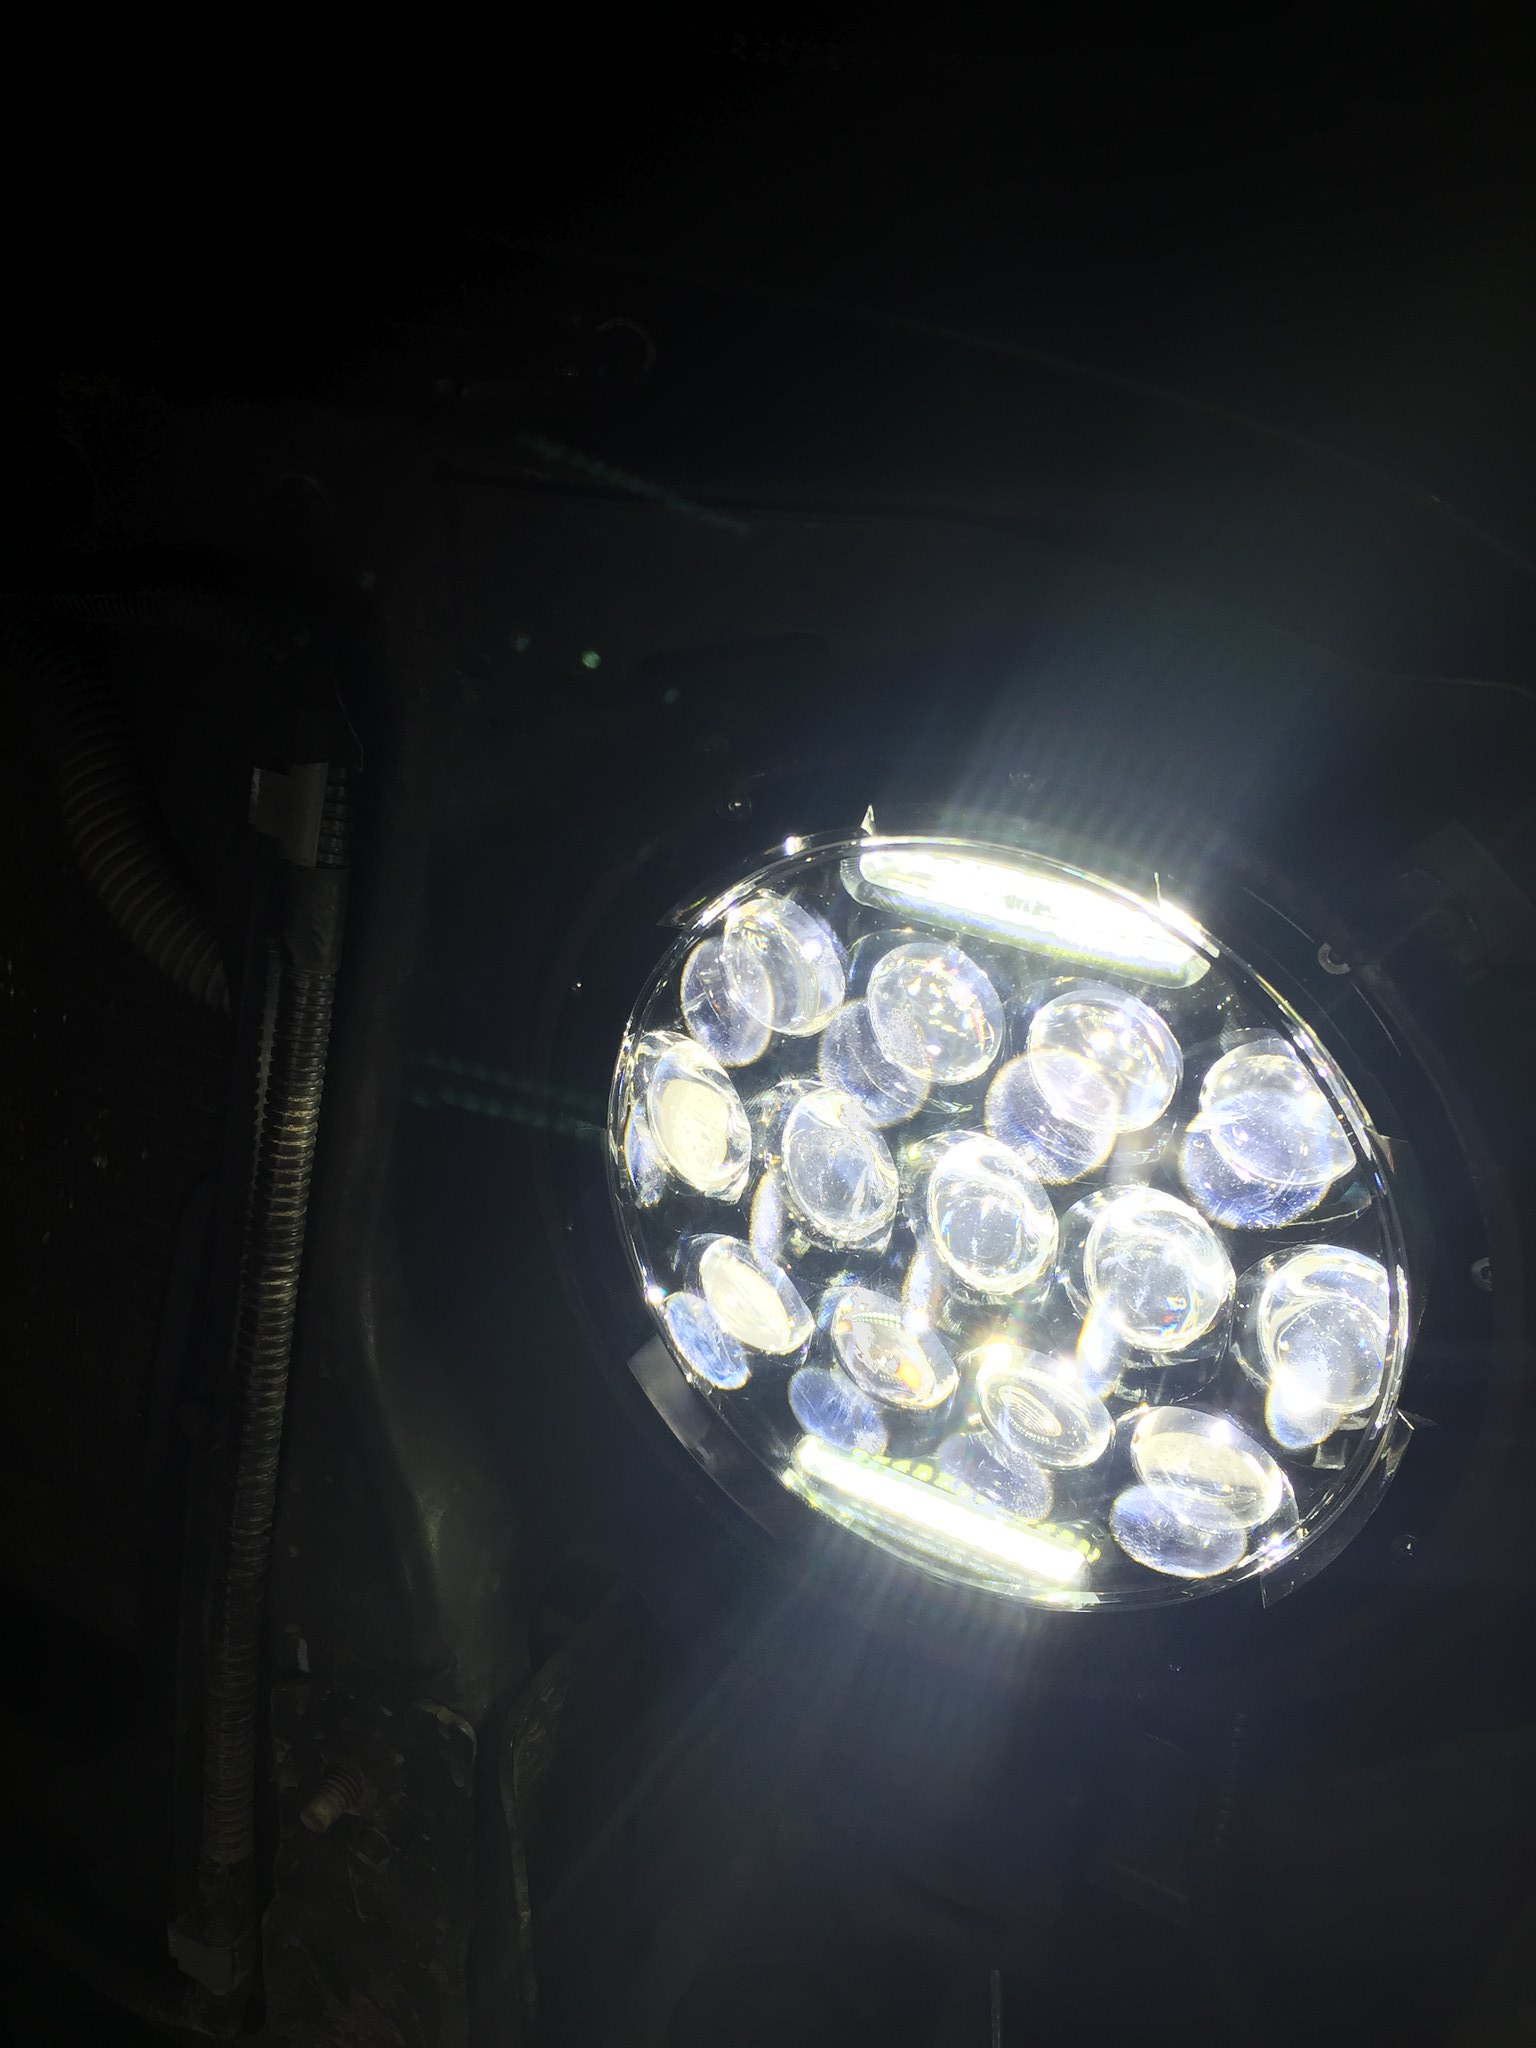
Final look

The previous owner had installed the light guards as seen in the first pic and threw away the head light bezel. The light guards were rusted and falling apart so i improvised and removed the 'protectors' leaving the ring as a bezel until i order the actual assembly bezel.
here is a video of what they look like
I aimed them down quite a bit so that they dont blind oncoming traffic and also dont want the police pulling me over for blinding people. All in all after the 5 minute test drive around the neighborhood they definitely brighten up the road and make me feel better about driving through the back roads without having to turn on the a-pillar lights.
- if any other JK owners want to add DRLs or like me have them go on with the markers and also turn your markers into a blinker i followed this:
To modify the turn signal you need to locate the wire that is furthest from the black ground at the light bulb portion of the blinker's plug. Then work your way up the harness to the junction of wires. (there should be three groups of wires all at this junction. DO NOTHING TO IT! Now locate the black wire on the harness that attaches to the light in the flare marker. You will want to cut that wire and splice that black wire to the wire at the junction that was the same wire that was furthest from the black wire on the existing blinker. Just be sure you are splicing the cut wire that leads to the actual flare light. Your flare light is now a blinker too. CONGRATS!
-For my headlight DRL's to turn on with the accessory/markers.
Using the DRL's wire for power. Take the original blinker harness and locate the middle wire (next to the black wire) at the light bulb plug. Now find that same wire at the junction and splice your DRL power wire into it. Splice up high near the junction to keep a factory look.
In the city driving with the poor JK headlights was fine (although sometimes i wondered are my lights even on?!?)
I previously had 6k 55w HID's in the halogen housing and those were way brighter than the stock halogen, then the harness broke and i instantly lost both headlights. So this wasnt a reliable source, i spent another year with the stock halogens and 2 weeks ago switched back to the same HID configuration. This time it wasnt as good i had remembered and the very next day had an issue with a single headlight. I did some research and of course names like JW Speaker, trucklite, KC, etc.. came up ranging from 330-$720+.
Then I stumbled across an led headlight with decent reviews (not dot approved, neither were my HID's in a halogen housing). So here is the result.
Out with the old and in with the new:

DRL-set to turn on with accesory lighting/side markers

Low Beams-

High beams-blurry pic but essentially a spot beam

Final look

The previous owner had installed the light guards as seen in the first pic and threw away the head light bezel. The light guards were rusted and falling apart so i improvised and removed the 'protectors' leaving the ring as a bezel until i order the actual assembly bezel.
here is a video of what they look like
I aimed them down quite a bit so that they dont blind oncoming traffic and also dont want the police pulling me over for blinding people. All in all after the 5 minute test drive around the neighborhood they definitely brighten up the road and make me feel better about driving through the back roads without having to turn on the a-pillar lights.
- if any other JK owners want to add DRLs or like me have them go on with the markers and also turn your markers into a blinker i followed this:
To modify the turn signal you need to locate the wire that is furthest from the black ground at the light bulb portion of the blinker's plug. Then work your way up the harness to the junction of wires. (there should be three groups of wires all at this junction. DO NOTHING TO IT! Now locate the black wire on the harness that attaches to the light in the flare marker. You will want to cut that wire and splice that black wire to the wire at the junction that was the same wire that was furthest from the black wire on the existing blinker. Just be sure you are splicing the cut wire that leads to the actual flare light. Your flare light is now a blinker too. CONGRATS!
-For my headlight DRL's to turn on with the accessory/markers.
Using the DRL's wire for power. Take the original blinker harness and locate the middle wire (next to the black wire) at the light bulb plug. Now find that same wire at the junction and splice your DRL power wire into it. Splice up high near the junction to keep a factory look.

AquilesT- Class 6A
- Posts : 198
Join date : 2013-08-15
Location : Roslindale
 Re: My JKuR build
So at LMFT this happened...
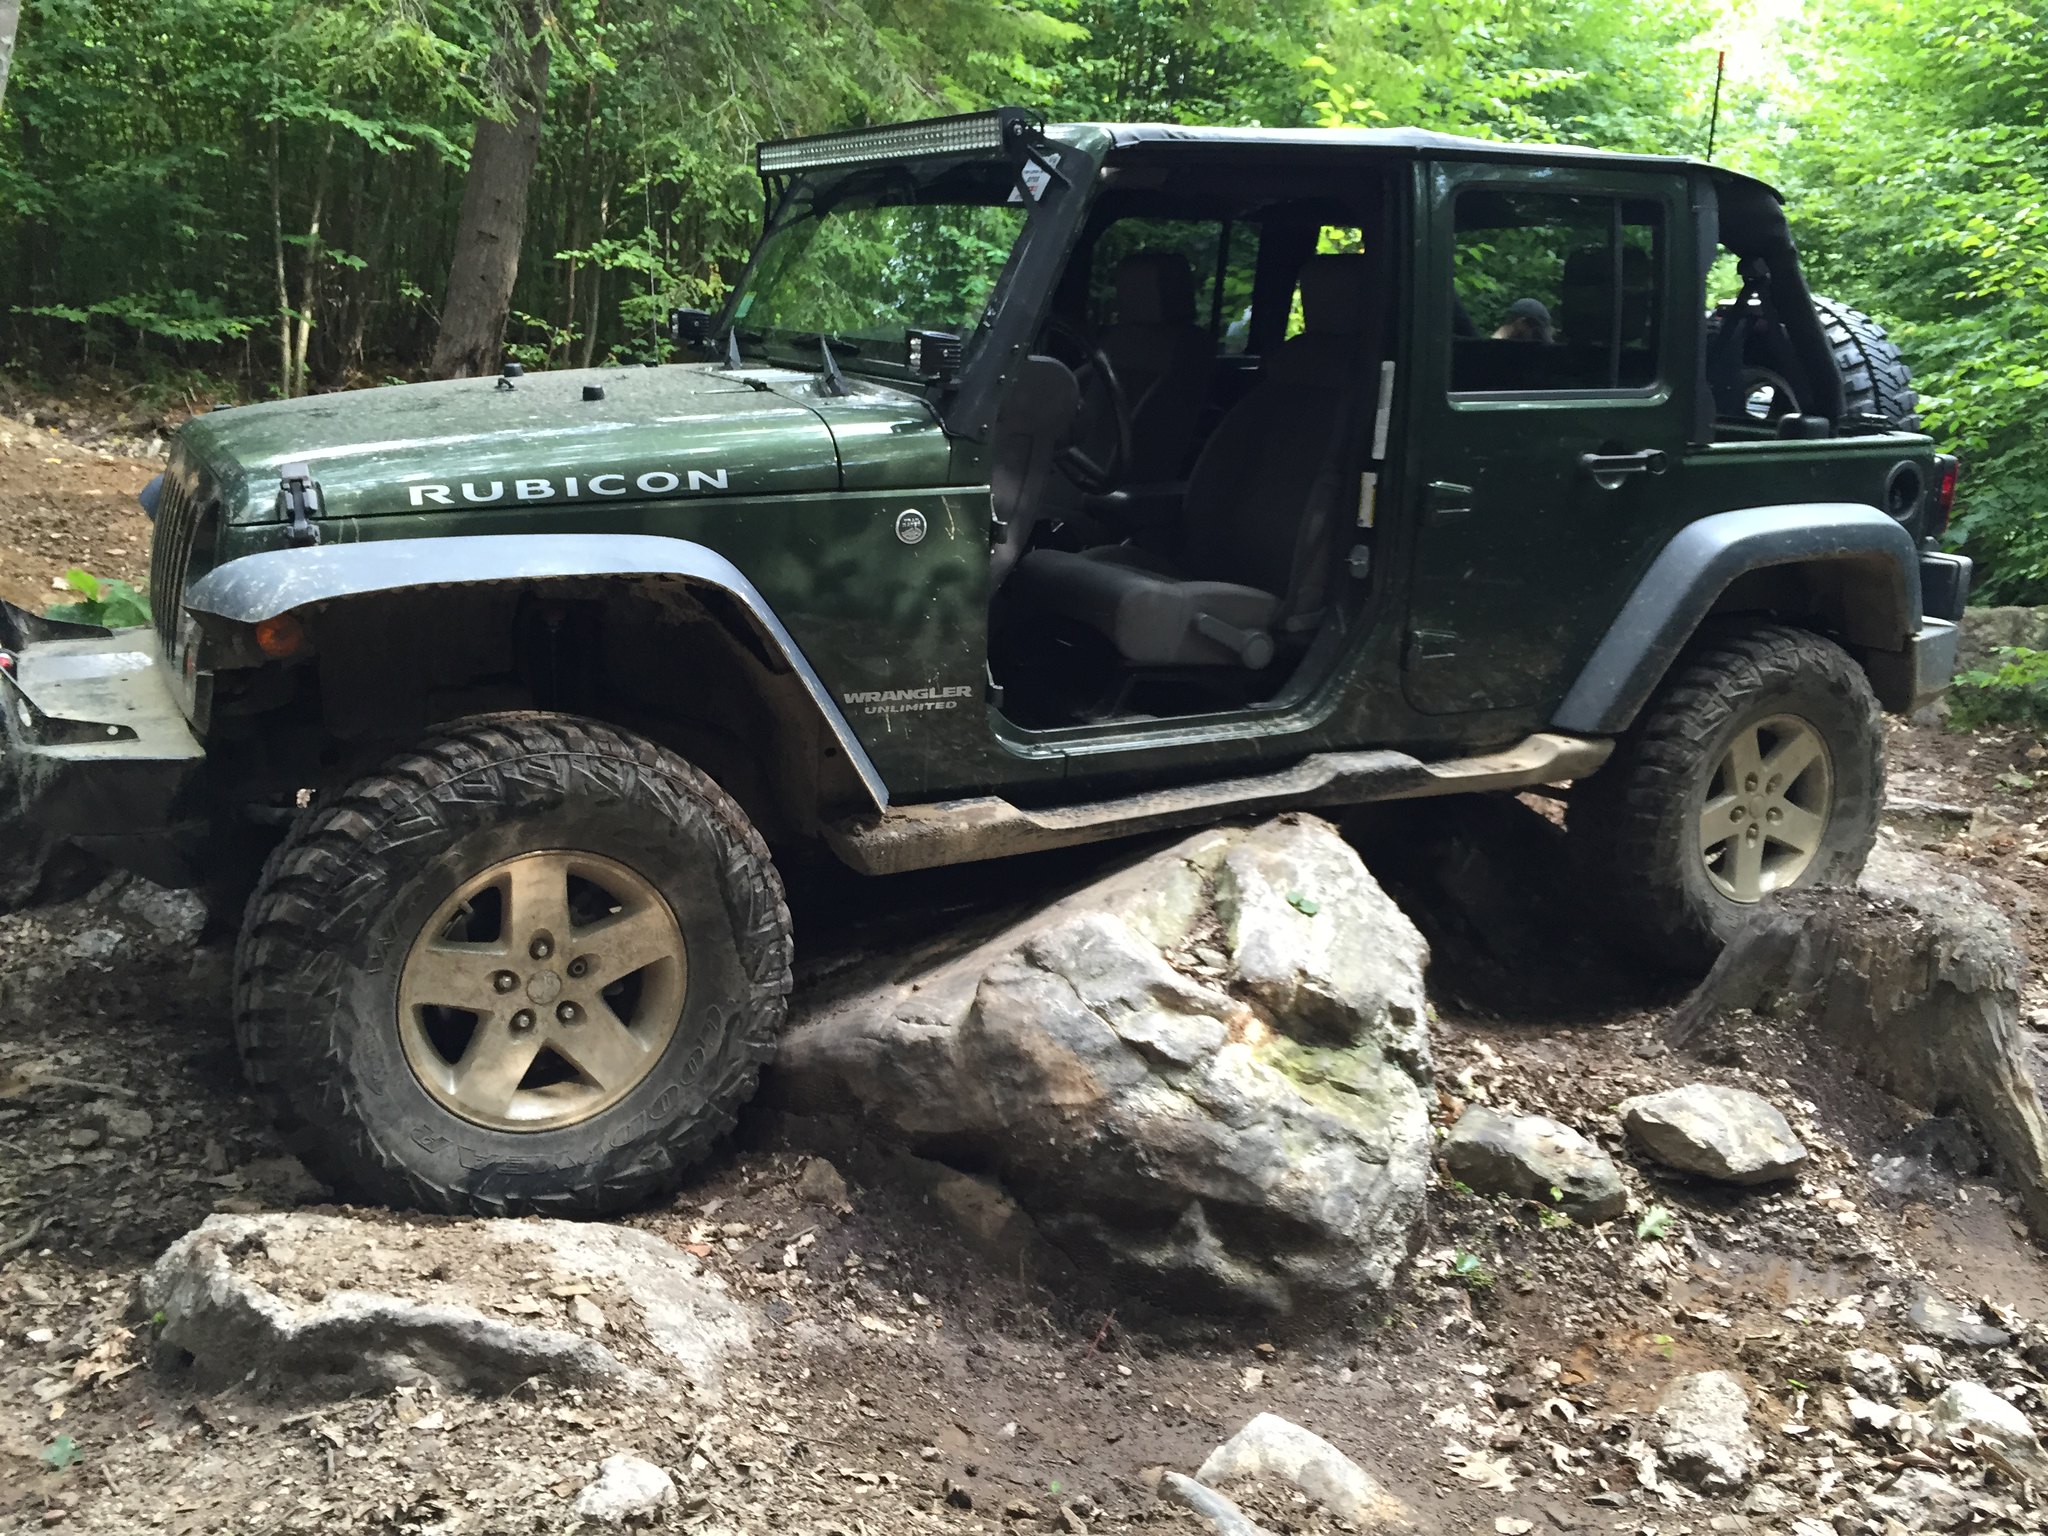
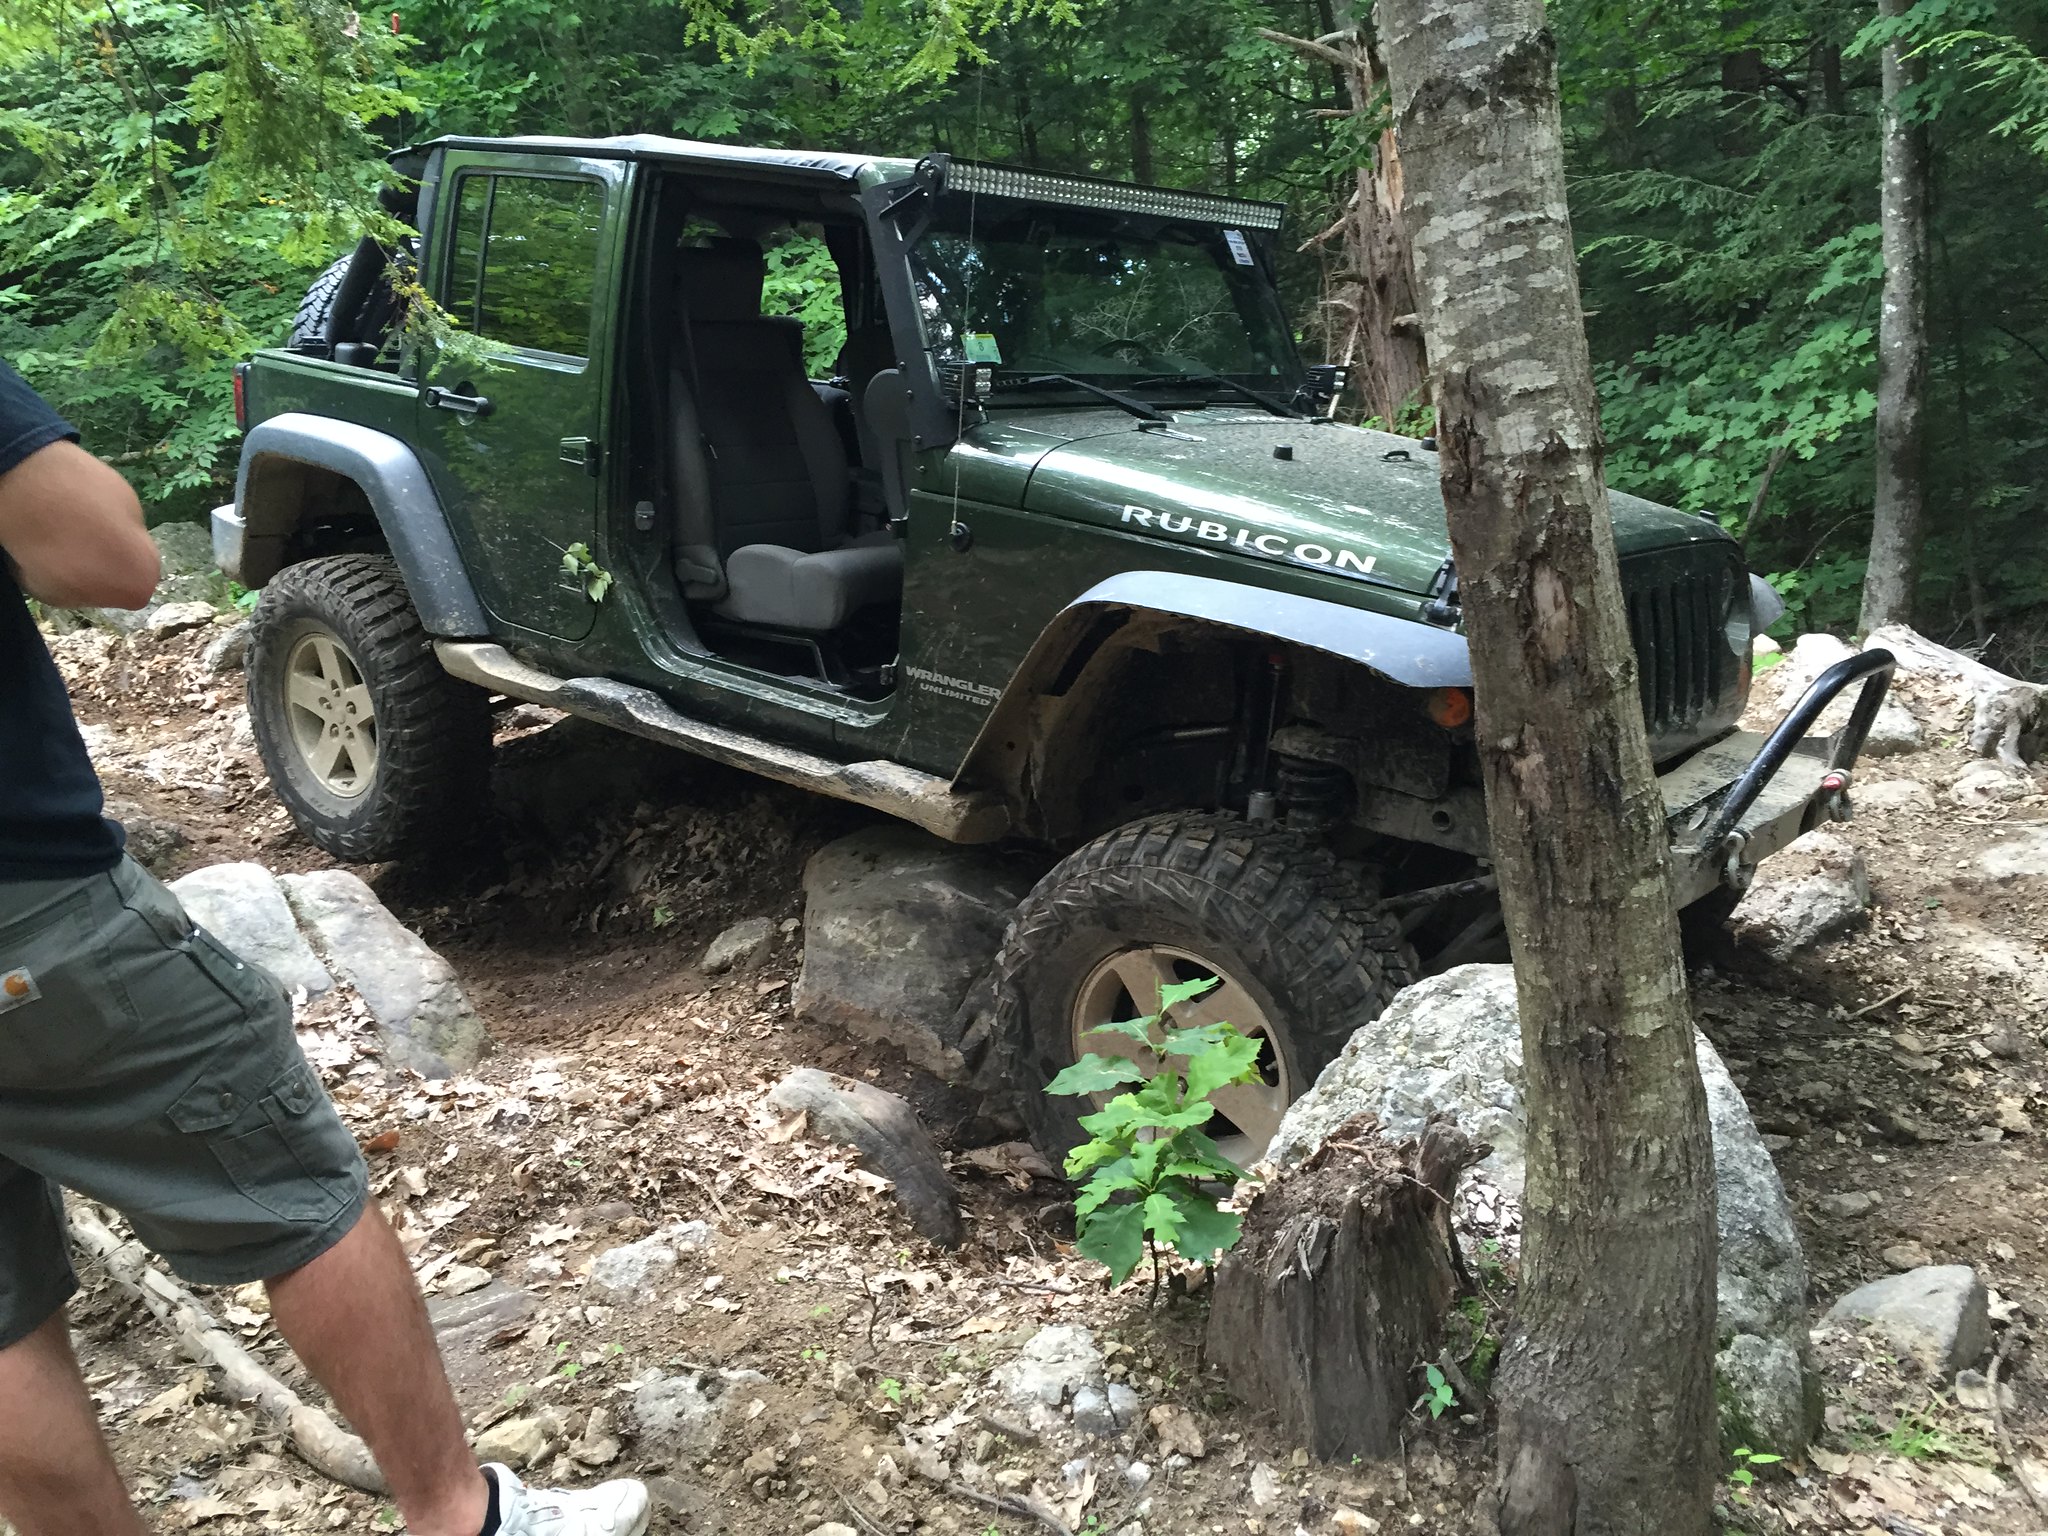

side steps finally gave in and are done. i thought i had a line on some rubi rails but the owner decided he is keeping them.
I may be out for the rest of the wheeling season , i dont want to end up damaging the sheetmetal by wheeling without rocker protection. Instead of spending 150 or so on rubi rails i'd rather wait and get something more functional/better.


side steps finally gave in and are done. i thought i had a line on some rubi rails but the owner decided he is keeping them.
I may be out for the rest of the wheeling season

AquilesT- Class 6A
- Posts : 198
Join date : 2013-08-15
Location : Roslindale
 Re: My JKuR build
Good call. Save up for some metalcloak rockers and you'll be happy you did.
dongalonga- Rubicon Trail
- Posts : 1047
Join date : 2012-03-20
Age : 40
Location : Lowell, MA
 Re: My JKuR build
Finally got around to ordering some rockers.. It was either metalcloak or poison spyder, i ended up ordering the frame mounted poison spyder rocker knockers along with the body armor. I wanted to continue the poison spyder theme on the jeep.

AquilesT- Class 6A
- Posts : 198
Join date : 2013-08-15
Location : Roslindale
 Re: My JKuR build
At least you got rid of the plastic!

dongalonga- Rubicon Trail
- Posts : 1047
Join date : 2012-03-20
Age : 40
Location : Lowell, MA
 Re: My JKuR build
Nice man you'll love having them. I desperately need to order sliders..

Tonellin- Rausch Creek
- Posts : 313
Join date : 2013-01-08
Location : Medford
 Hello..
Let us know next time you guys go to any trail, we will be happy with a 1 mile of dirt road!!! lol

johnnymedeiros- Daily Driver
- Posts : 4
Join date : 2015-12-01
 Re: My JKuR build
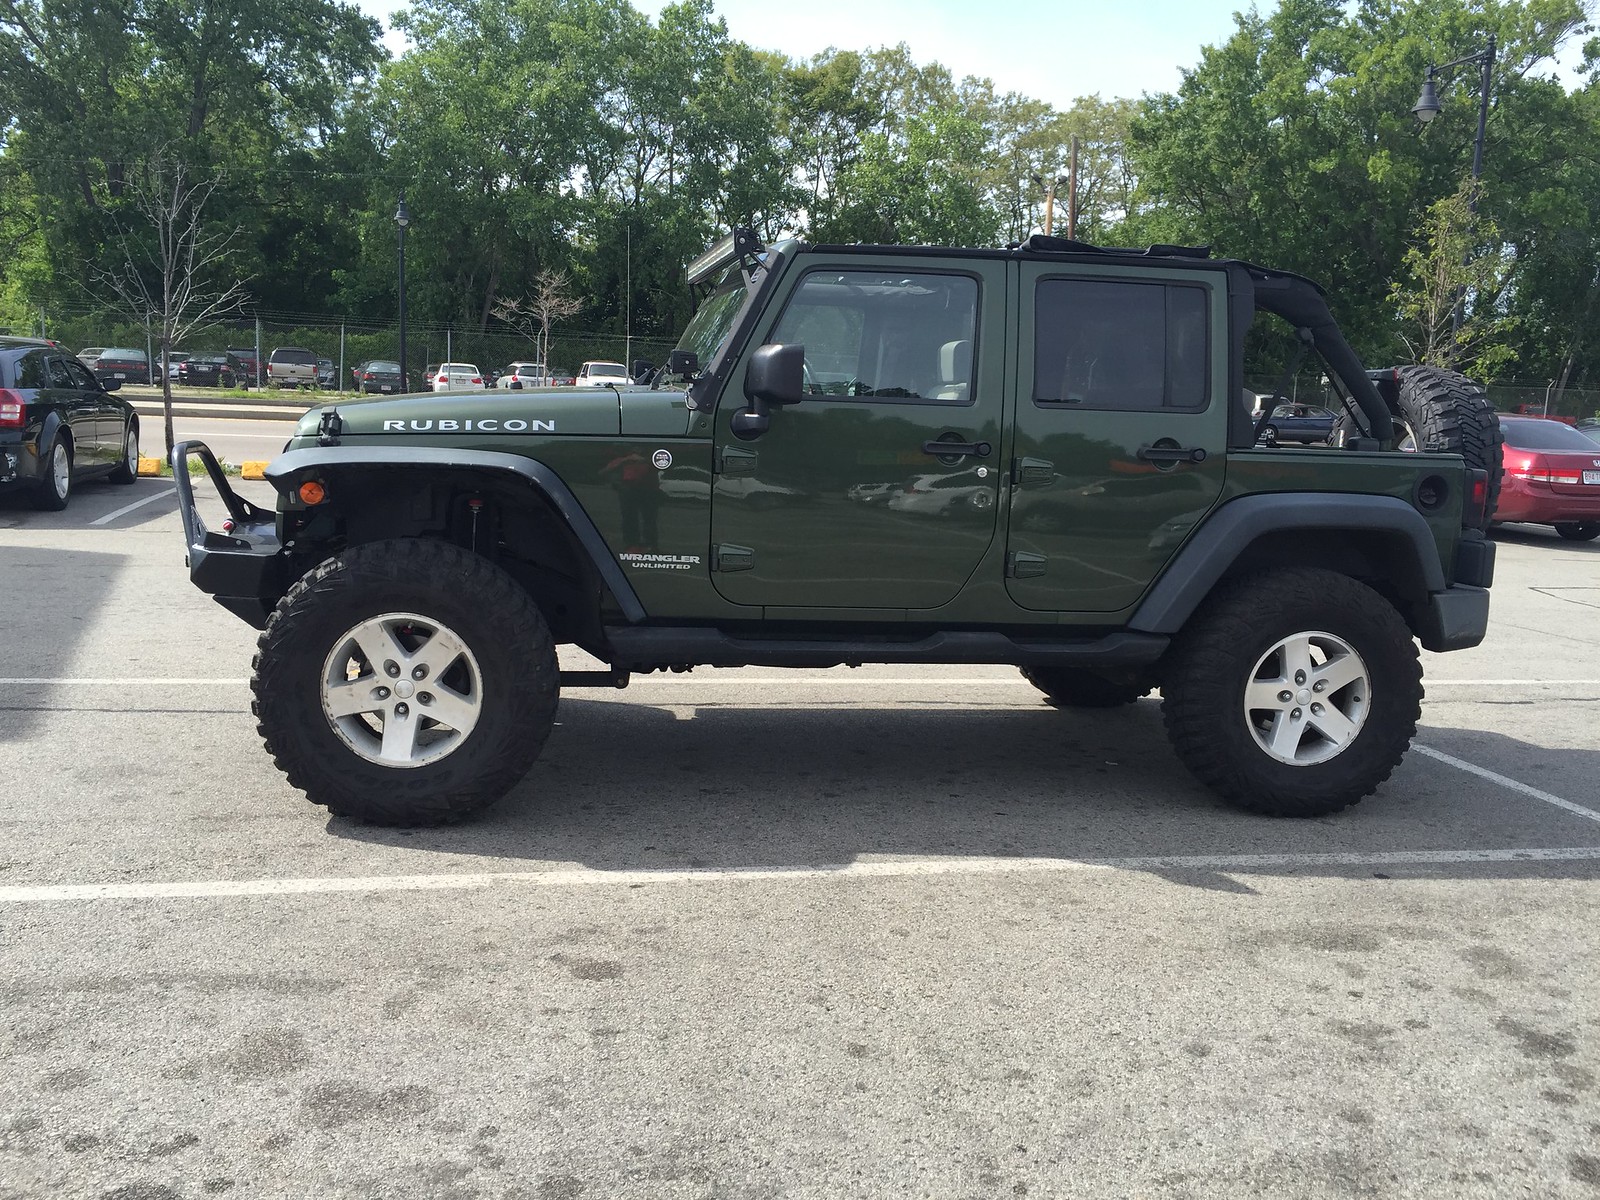
Set up my Poison Spyder body armor and rocker knocker sliders. I did have to weld the driver side to the frame with a few tack welds since the bolt wouldn't fully grab inside the holes i drilled and tapped.
.


Next on the list is the teraflex tire carrier. Since i took of the spare tire given that the tailgate was rattling too much after 2 years carrying the 35" mtr/k . Then yesterday i figured i finished the slider install, "i should go to the carwash". The roller in the carwash kicked back close the rear as it normally does, but because there was no tire there it ripped off the wiper arm and bent/broke the third brake light bracket

.
Next on the list is the teraflex tire carrier. Since i took of the spare tire given that the tailgate was rattling too much after 2 years carrying the 35" mtr/k . Then yesterday i figured i finished the slider install, "i should go to the carwash". The roller in the carwash kicked back close the rear as it normally does, but because there was no tire there it ripped off the wiper arm and bent/broke the third brake light bracket

AquilesT- Class 6A
- Posts : 198
Join date : 2013-08-15
Location : Roslindale
 Re: My JKuR build
Nice upgrade over those Sahara rails. You seemed to get pretty good use out of those.
RubiconBob- Admin
- Posts : 67
Join date : 2014-11-18
 Re: My JKuR build
Installed the Teraflex HD hinge and carrier. One issue i did contact TF about is that due to my tire and wheel combo, i can only fit one clamp bolt on the carrier and tire cylinders and then using the second bolt behind it for additional clamping preasure simply for the carrier cylinder. Because the tire cylinder doesnt go in all the way there is minor deflection sort of like a flag post in a strong wind back and forth causing a annoying squeak. Also, Jeep paints the JK after everything is mounted on the body rather than panel by panel, i had to sand,prep and primer under the oem hinges prior to installing the TF hinges.


AquilesT- Class 6A
- Posts : 198
Join date : 2013-08-15
Location : Roslindale
 Re: My JKuR build
Lookin good man...gonna make it back to the trail soon??

Tonellin- Rausch Creek
- Posts : 313
Join date : 2013-01-08
Location : Medford
 Re: My JKuR build
Yea hopefully, still working through some issues but if not for maBell definitly for the following run i'll be ready.

AquilesT- Class 6A
- Posts : 198
Join date : 2013-08-15
Location : Roslindale
Page 3 of 3 •  1, 2, 3
 Similar topics
» Good to be back with NSJ - Upcoming 2014 JKUR build!
» TJ's ZJ Build
» "Tug" 2.0 Build
» 05 TJ Build
» Marc's Build
» TJ's ZJ Build
» "Tug" 2.0 Build
» 05 TJ Build
» Marc's Build
Page 3 of 3
Permissions in this forum:
You cannot reply to topics in this forum
 Home
Home


