Chili Pepper TJ Build
+15
nsjbill
ArticRubi
THOOPY3
AngryTJ
Andrew Miller
oathkeeper4freedom
ol'blue
Mark
janesy
CrawlingForward
Tobit
dongalonga
angri
wayne07jk
Ryan McKee
19 posters
Page 3 of 6
Page 3 of 6 •  1, 2, 3, 4, 5, 6
 Re: Chili Pepper TJ Build
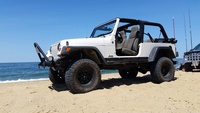
We need a full body shot of the Jeep Ryan! Looks killer as always! 
Andrew Miller- Admin
- Posts : 398
Join date : 2011-12-19
Location : Harvard Ma
 Re: Chili Pepper TJ Build
Amills60 wrote:We need a full body shot of the Jeep Ryan! Looks killer as always!
You got it boss! I'll be doing that perhaps tomorrow. Just need to have some decent weather, drop the top, and make her pose.
 Re: Chili Pepper TJ Build
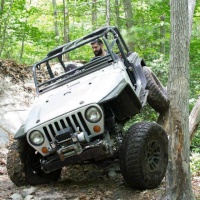
Looks great Ryan! Matches the TNT's damn well.
janesy- Rausch Creek
- Posts : 330
Join date : 2012-04-03
Age : 38
Location : Beverly, MA
 Re: Chili Pepper TJ Build
Thanks!
Last night I got my 3rd set of Currie arms in. Double adj. rear uppers. Pinion angle adjustment is a breeze now. I'm going to dial everything in this morning and get her all buttoned up. Then it's honestly time for a photo shoot of the new parts all cleaned up.
Don't mind the weirdly caked on mud.

Last night I got my 3rd set of Currie arms in. Double adj. rear uppers. Pinion angle adjustment is a breeze now. I'm going to dial everything in this morning and get her all buttoned up. Then it's honestly time for a photo shoot of the new parts all cleaned up.
Don't mind the weirdly caked on mud.

 Re: Chili Pepper TJ Build
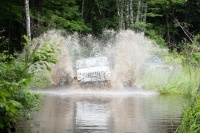
Where is your tail pipe?
Mark- Rubicon Trail
- Posts : 1300
Join date : 2011-12-10
Location : Haverhill, MA
 Re: Chili Pepper TJ Build
Markmmaark wrote:Where is your tail pipe?
I was wondering if anyone would comment. My exhaust currently ends at the output shaft of the cat.
 Re: Chili Pepper TJ Build
Squeak free will be awesome this Sunday! 

Andrew Miller- Admin
- Posts : 398
Join date : 2011-12-19
Location : Harvard Ma
 Re: Chili Pepper TJ Build
Ryan, how many cans of paint would you say were absolutely needed to paint the TNT's? Don't really want to get too many but I'd rather have enough...

janesy- Rausch Creek
- Posts : 330
Join date : 2012-04-03
Age : 38
Location : Beverly, MA
 Re: Chili Pepper TJ Build
janesy wrote:Ryan, how many cans of paint would you say were absolutely needed to paint the TNT's? Don't really want to get too many but I'd rather have enough...
I bought 10 cans of color, 5 of lacquer. Difference being that mine is a pearlescent finish so the more layers of color the better the "sparkle" is. I'd go with 10 if it was me. I bought from JEGS online and it was $5 a can. AutoZone may actually have your color though, as that was a problem I ran into. Had to have it drop shipped directly from Duplicolor.
 Re: Chili Pepper TJ Build
Gotcha. I may just go down the street from me, there a body shop (think its Crown Auto Body), and see what they charge a can. My buddy got some for his half doors to color match Patriot Blue, and it came out great.

janesy- Rausch Creek
- Posts : 330
Join date : 2012-04-03
Age : 38
Location : Beverly, MA
 Re: Chili Pepper TJ Build
whoever gave you the idea for those rear flares is a genious!!! 

AngryTJ- Daily Driver
- Posts : 42
Join date : 2012-07-02
Age : 39
Location : Connecticut
 Re: Chili Pepper TJ Build
AngryTJ wrote:whoever gave you the idea for those rear flares is a genious!!!
Yeah that guy Jay and his REDLYNER build sure did have his thinking cap on

 Re: Chili Pepper TJ Build
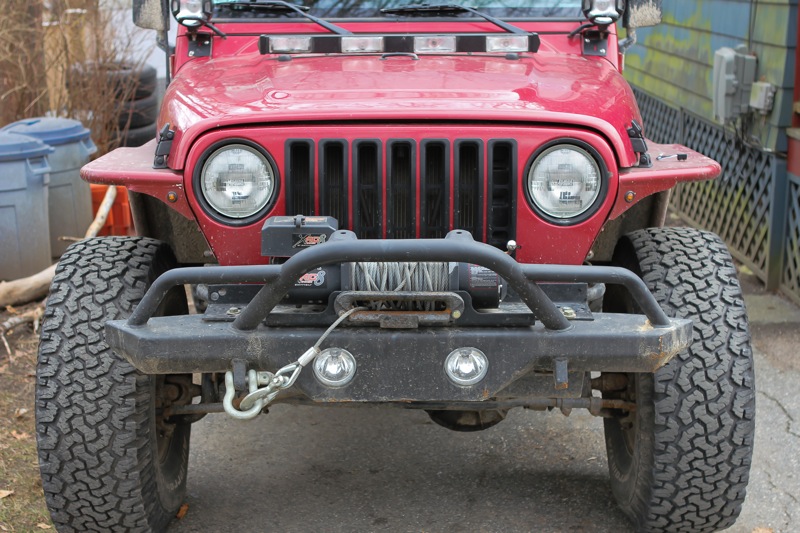
Haven't updated this since August....... 
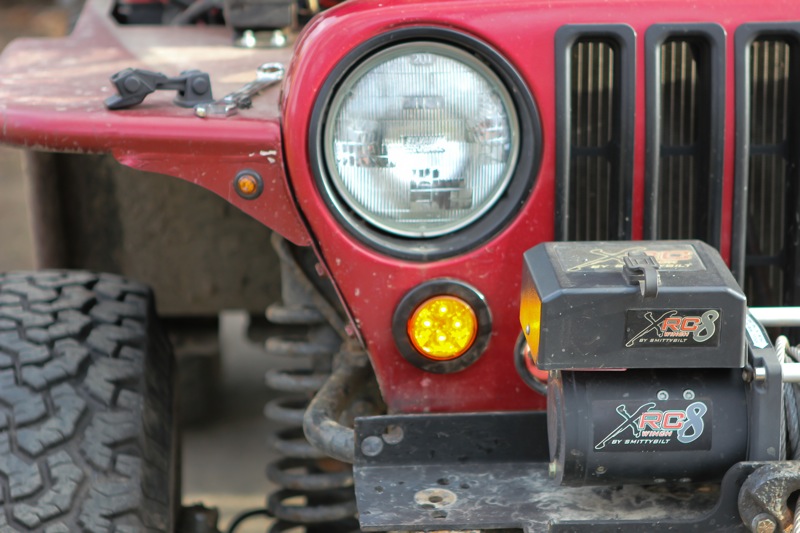
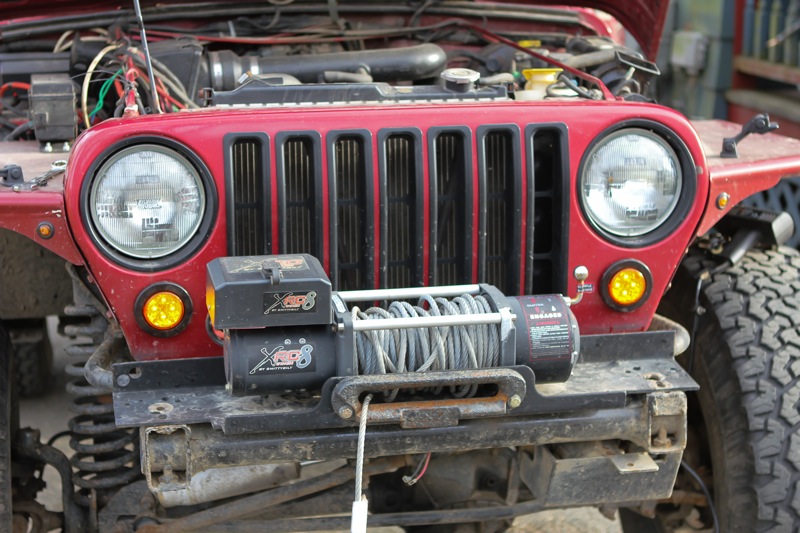
Well after 6 months of the TNTs, and my turn signals being the 3/4" LEDs, I decided to step it up and put in some real ones that can actually be seen. The 3/4" ones are now being used as running lights as well as directionals alongside the 2.5" ones. The 2.5" came from SuperBriteLEDs.com for $20 with the grommets and pig tail wiring, and were a gift from a family friend.
It honestly took only about half an hour to get these things in, including measuring the positions, taping off the front, removing the bumper, and cutting the holes. I messed around with the wiring a little to get it the way I wanted (videos will be posted tonight once it's dark out and I get a change to shoot it) but these things are BRIGHT!!!! I used some black RTV around the edge of the grommet just to hold it in their a little more, although the 2 5/8" hole saw did a fine job of making a tight hole for them to fit into.


 Re: Chili Pepper TJ Build
Ryan those lights look great, it looks like the cj grille now.
I was going to do that to mine but my winch, license plate plus fog lights mounted on bumper cover them up too much.
Where is your front plate?
I was going to do that to mine but my winch, license plate plus fog lights mounted on bumper cover them up too much.
Where is your front plate?

Mark- Rubicon Trail
- Posts : 1300
Join date : 2011-12-10
Location : Haverhill, MA
 Re: Chili Pepper TJ Build
Markmmaark wrote:
Where is your front plate?
I'm still not sure if I'll need to trim/swap my front bumper to uncover them a bit. Time will tell.
No front plate for this guy
 Re: Chili Pepper TJ Build
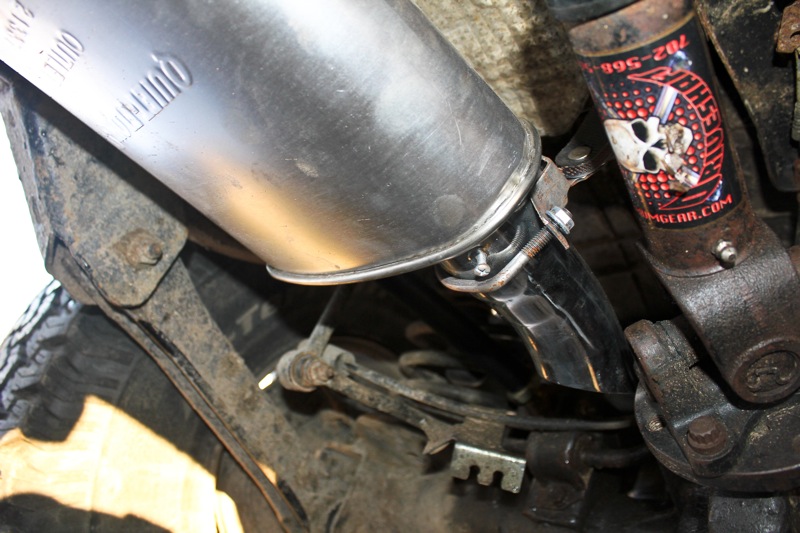
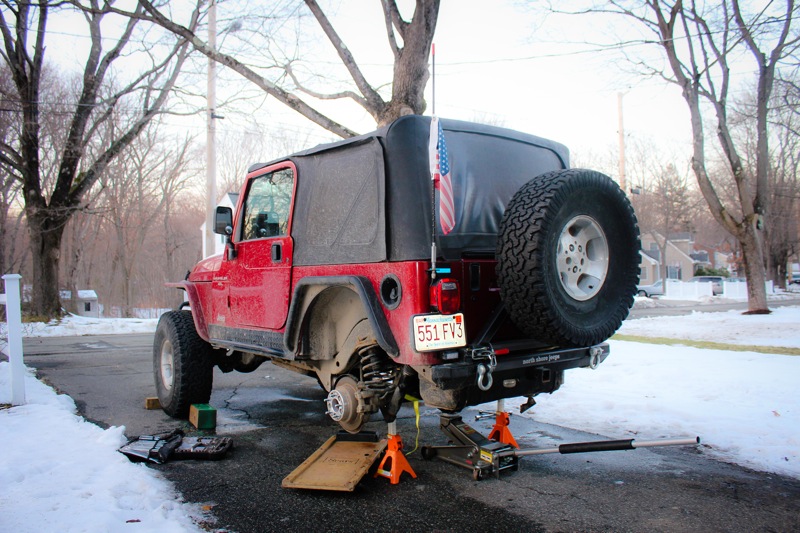
New Walker SS muffler, new JKS rear adjustable track bar with a Johnny Joint to replace the Rough Country one that sucks...



 Re: Chili Pepper TJ Build
JKS, GOOD CHOICE RYAN! big difference.
You can center rear wheels by measuring between upper coil buckets and tire.BEST WAY
Do not go by looks from outside
You can center rear wheels by measuring between upper coil buckets and tire.BEST WAY
Do not go by looks from outside

Mark- Rubicon Trail
- Posts : 1300
Join date : 2011-12-10
Location : Haverhill, MA
 Re: Chili Pepper TJ Build
Markmmaark wrote:JKS, GOOD CHOICE RYAN! big difference.
You can center rear wheels by measuring between upper coil buckets and tire.BEST WAY
Do not go by looks from outside
Thanks! I actually held it in place with ratchet straps before removing the old one, so it carried over in the same position without much effort!
 Re: Chili Pepper TJ Build
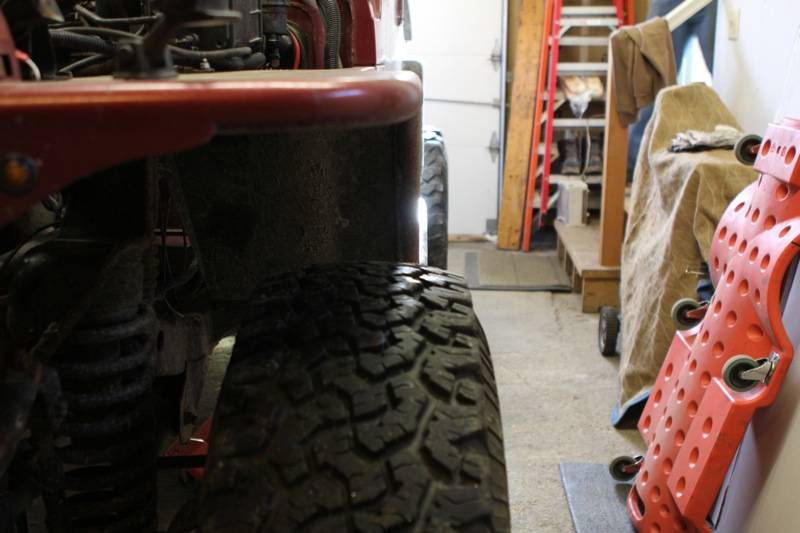
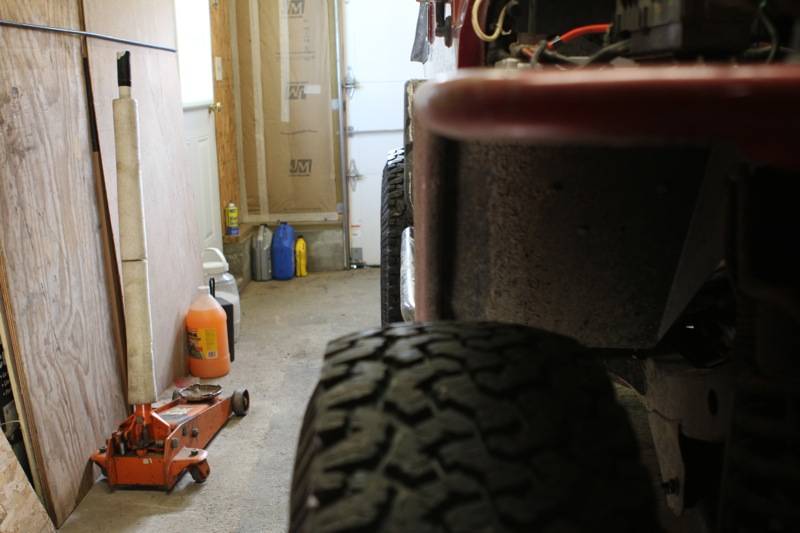
Went to Mark's house on Saturday and spent the day on the crawler under the TJ. Having not had it aligned since
We started out under the rear axle by matching the UCA lengths, then bringing them down to change my driveshaft angle. When I put the Currie UCAs in last fall, I matched them to the Rough Country ones that had previously been in. Taking the time in his garage, we brought them down 1.5-3* and got a much better shaft angle. Beyond that he taught me how to measure the shaft angle without an actual angle finder. We aligned the flange on the yoke of the axle with the differential itself, and then took a few measurements of the distance between the driveshaft caps and the yoke. It took a few adjustments, but we got them to be identical to each other, and the shaft was at a much more proper angle. The drive home was completely different, no vibes whatsoever. (They were slight, 55-60mph, but it was awesome how smooth the ride was post-adjustment). I should mention that I love how easy it is to adjust the Savvy arms while they're connected to the axle. I can't imagine having had to do it the way every other pair of arms works.
After we got the UCAs and shaft angle figured out, we took some measurements of the track bar in the rear. Seeing as it was so new, we re-dialed in the thread length and centered the axle. Wasn't anything horrific, about 3/16" to the passenger side. Again, I merely matched it to the Rough Country that had been in there before. We brought it over a little, and also lowered the axle side to the bottom home on the bracket. This should give me a little more articulation, and keep it from rubbing on the factory gas tank skid.
With the rear axle completely tied in and buttoned up, we had a great pepperoni pizza from Sal's. It was delicious.
On to the front axle………… HOLY CRAP. Seriously. The axle was almost two inches to the passenger side. I am not entirely sure how this happened, as Clayton and I put this in a year and a half ago and did a pretty damn good job. I'm not sure if the tube fenders made it much more noticeable? Don't know. Anyways, we took the track bar off, greased it, put some anti-seize on the 9/16" bolt on the frame. Re-installation included shortening the tread on the axle side to bring the axle back center.
After the axle was set, we did a front end alignment…3/8" toe. $hit. Last time this was done was July of 2011 during the SearsFiasco, for those that have been reading this for that long - Page 26. Mark immediately said the Jeep would be a whole different beast after we got that set. After a few more measurements we had it down to 1/16". Greased everything and torqued down the TRE sleeve.
I learned a lot this weekend. Having never done an alignment myself, let alone really learned the specifics on centering axles and all that jazz, it was good to do. We even torqued things to factory/manufacturer spec. Jeep handles a lot better now, although it still isn't perfect. Steering on the highway was not what I want it to be, but the ride was much much better.. Perhaps it's time for Currie steering. There's just too much play.
Feel free to let me know what you think. Huge, immense, immeasurable, INSANE thanks to Mark and Carol for welcoming me in their house, and Mark THANK YOU for spending the day helping me out.
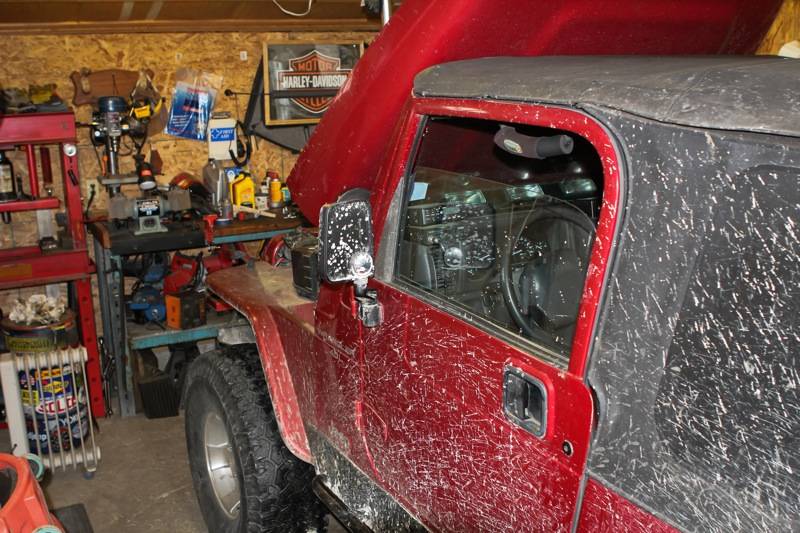
Here are some photos.. God I can't wait to have a garage...:


 Re: Chili Pepper TJ Build
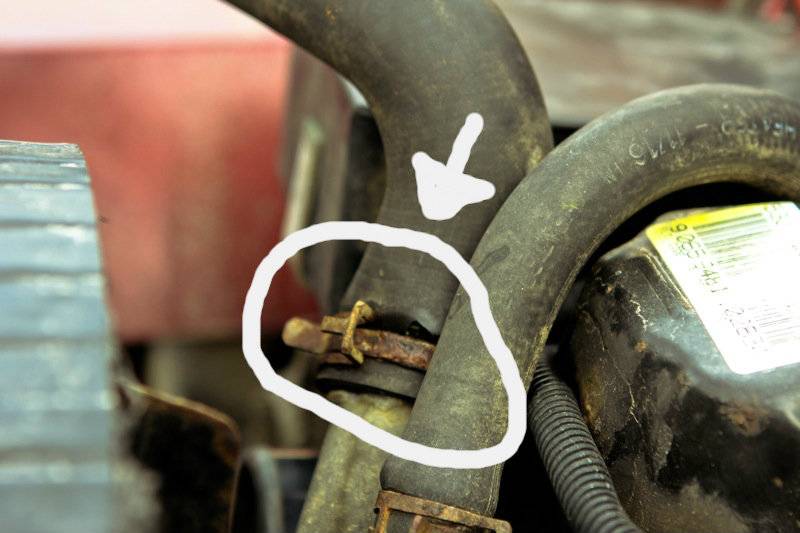
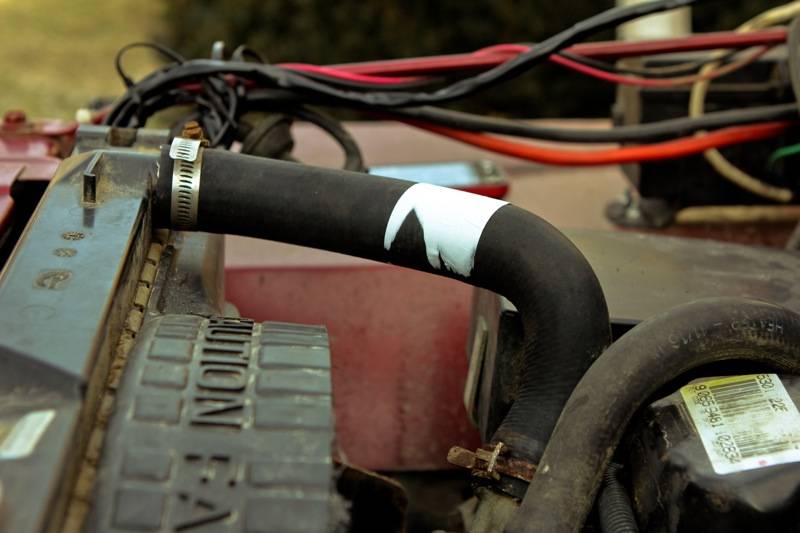
Also replaced the upper radiator hose since it was sliced and leaking coolant. And a few photos from the state forest during the snow today 


 Re: Chili Pepper TJ Build
I haven't checked this thread out in a while. You've been keeping busy. Looks great.

angri- Class 6A
- Posts : 185
Join date : 2012-01-29
Age : 52
Location : Candia NH
 Re: Chili Pepper TJ Build
You are welcome Ryan,,,
You are a quick study, you caught right on as to what we were doing and you got some hands on experience.
Good Job, another notch in your belt of experiences with your jeep in it's journey through the seemingly never ending transformation.
Mark,,
You are a quick study, you caught right on as to what we were doing and you got some hands on experience.
Good Job, another notch in your belt of experiences with your jeep in it's journey through the seemingly never ending transformation.
Mark,,

Mark- Rubicon Trail
- Posts : 1300
Join date : 2011-12-10
Location : Haverhill, MA
 Re: Chili Pepper TJ Build
Picked up a set of half doors and soft uppers for $280 on Craigslist (thanks Mark for sending the listing!) So now I can be like Matt and go wheeling with half doors 
Not sure if I'll get them painted or not... black doesn't look bad.
Also took her for a few photos in the snow today.
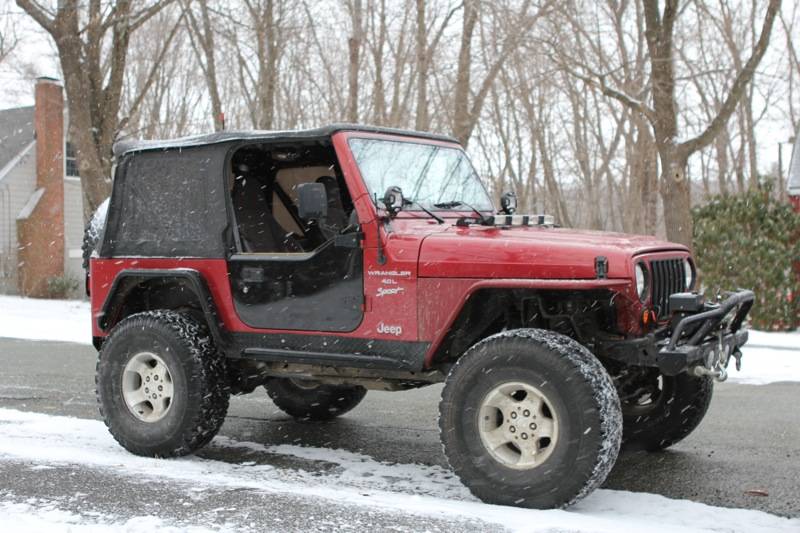
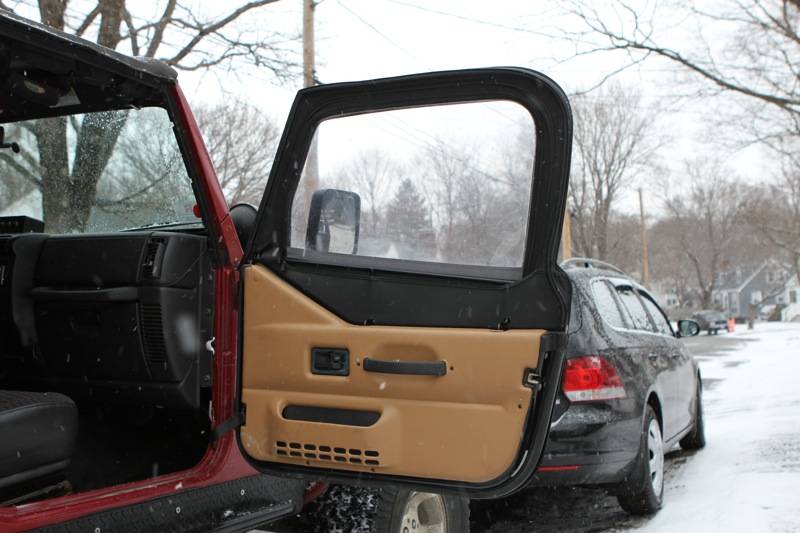
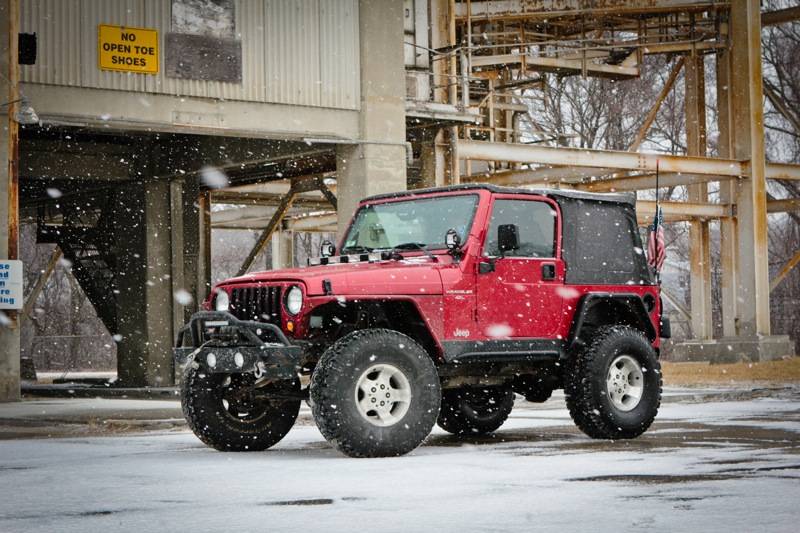

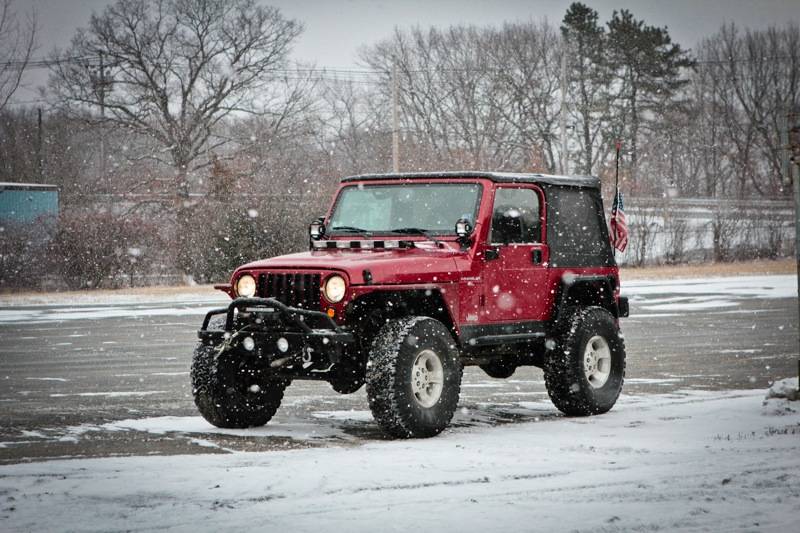
Not sure if I'll get them painted or not... black doesn't look bad.
Also took her for a few photos in the snow today.


 Re: Chili Pepper TJ Build
Black looks good, you got lucky they could have been yellow or white like mine.
The Factory paint that is already on them is pretty tough, just leave them black.
Paint your front fenders black.
The Factory paint that is already on them is pretty tough, just leave them black.
Paint your front fenders black.

Mark- Rubicon Trail
- Posts : 1300
Join date : 2011-12-10
Location : Haverhill, MA
 Re: Chili Pepper TJ Build
Congrats on the doors. I love mine.

angri- Class 6A
- Posts : 185
Join date : 2012-01-29
Age : 52
Location : Candia NH
Page 3 of 6 •  1, 2, 3, 4, 5, 6
Page 3 of 6
Permissions in this forum:
You cannot reply to topics in this forum
 Home
Home